
What is Magnet AXIOM?
Magnet AXIOM is advertised as a comprehensive suite of tools for digital forensic investigations that can recover and analyze digital evidence from most sources, including smartphones, cloud services, computers, IoT devices and third-party images. The tool also is equipped with unique analysis tools, such as AI chat categorization, image categorization, and comprehensive keyword search functions pre-processing.
In Part 1, we will be focusing on AXIOM Process. AXIOM Process is Magnet’s solution for acquiring and processing evidence for later analysis in AXIOM Examine. AXIOM Process is capable of working with many different types of image formats as well as acquiring from a range of devices. In this series, we will focus on an older rooted Samsung Galaxy S4 running Android 5.0.1. This device belongs to a suspect who is believed to have been involved in stealing several drone lithium-ion batteries.
AXIOM Process
Acquiring the Device
First, we are going to launch AXIOM Process. You will be greeted with the home screen asking if you want to “Create New Case” or “Browse to Case”.

We want to select “Create New Case”. You will be greeted with the Case Details window.

This screen allows for entering information about the case. The Case number can be any characters used to identify the case and will be used as the case file title when it is saved by the tool. I set it to the case number, followed by the device type, Android version, and device model. Case type I have set to None. It has many options such as Fraud or Drug Offenses.
Below that are the name and location for the case files to be created. I have kept the AXIOM Processing default folder name and set the location to F:\Cases.
Below that, you can enter scan information and details, as well as select a cover image if you want to use AXIOM Examine’s report generator later. Then we can select Go to Evidence Sources.
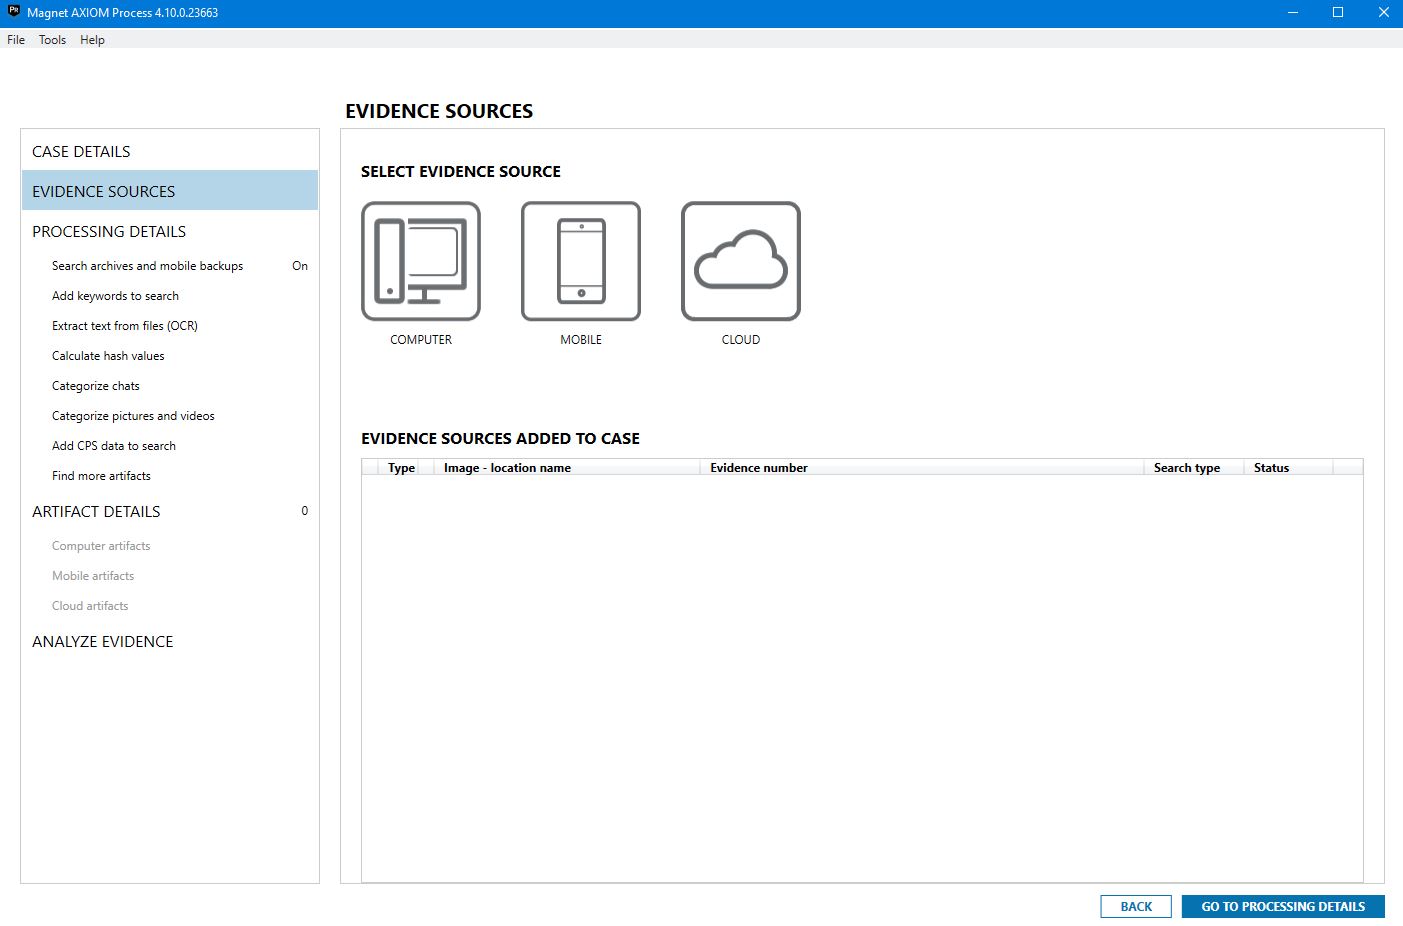
This screen is where we can select a device to acquire or image to load and process. AXIOM Process supports many image formats, as well as Windows and Mac computers, as well as iOS, Android, Windows, and Kindle mobile devices, MTP Devices, and SIM cards. In my case, I’ll select Mobile > Android > Acquire Evidence.

This screen is device specific. For my Android Device, I can choose Advanced for a lock bypass or ADB to acquire the device via Android ADB. The Advanced method will utilize a device specific recovery image and also require installing drivers. Fortunately, the passcode for this device is known, so I will choose the ADB method.
Since I am using the ADB method and know the passcode, I need to change some settings on the phone. Be sure to make note of any changes made to the phone settings! First, enable developer options. On my device, I needed to go to Settings > About and tap the build number seven times. Now, enable USB Debugging under Developer Options, as well as checking Allow Untrusted Sources and unchecking Verify Apps Via USB. Now we can connect the phone.
Next, AXIOM Process will search for the device. This can sometimes take a while. It’s best to temporarily disconnect any other devices or external drives, as I have had AXIOM Process hang while searching for devices due to this before.
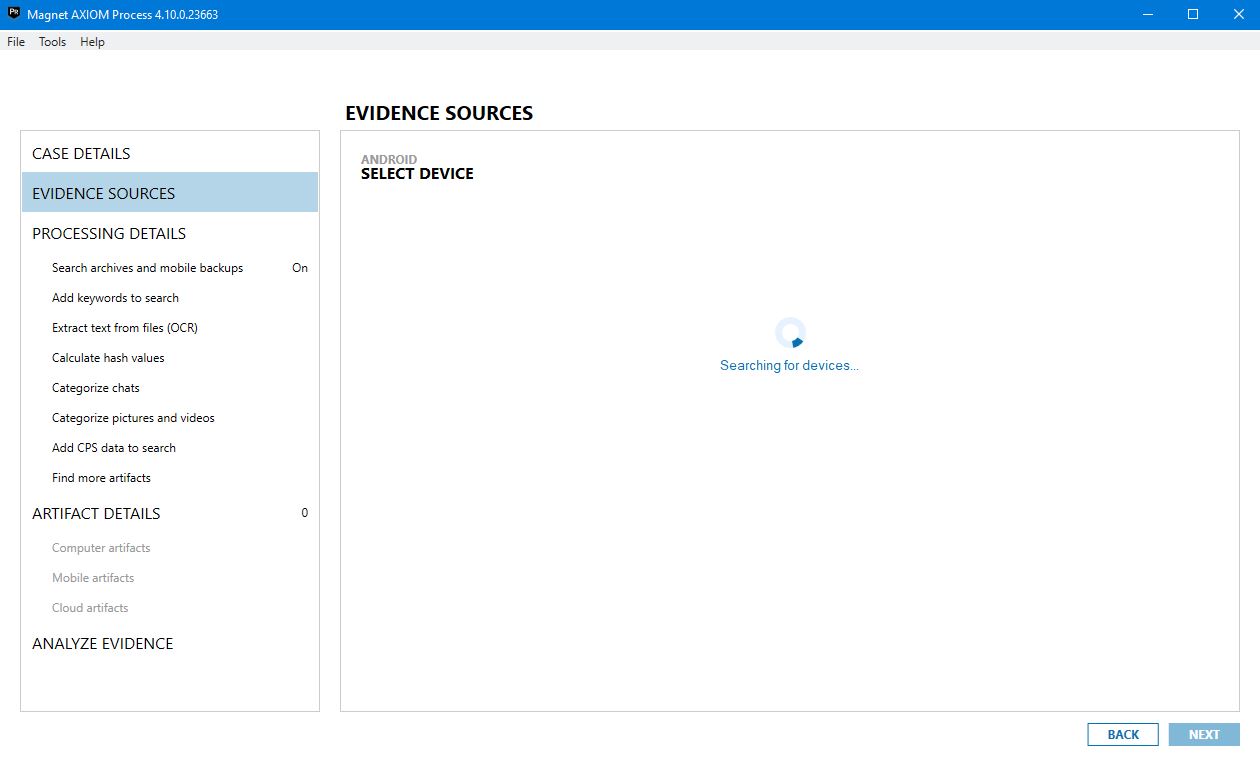
When it’s done searching for devices, it will present you with what it found.

This is indeed the correct device, so I select it and continue. Next we are prompted with the image type.

I’m going to choose a full image. Since this device has been rooted, I want to make sure and not miss any data.
Processing Settings
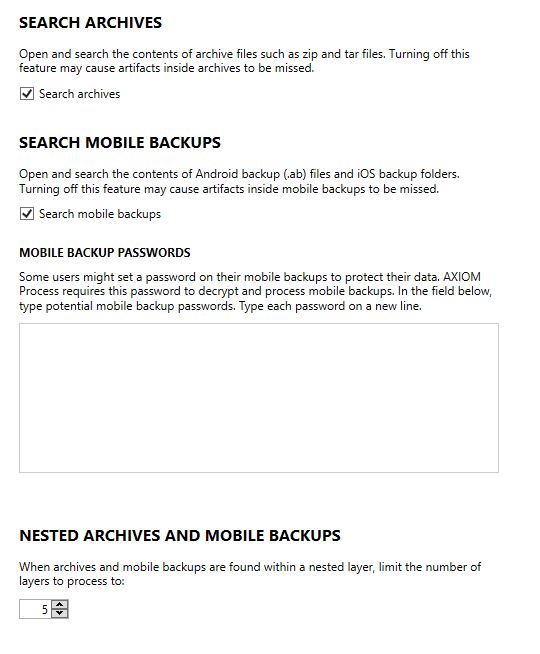
Continuing on, in the processing details, I enable searching of archives and any mobile backup files found on the device. Depending on the case, logical or full is extraction is what I find best.

Next, I add two keywords I want to search for. A suspected contact, “Chris”, and the stolen object, a battery. AXIOM Process will search all available information for these keywords during processing and make it easy to find possible evidence later in the examination.

Next, I disable OCR text searches. This method searches text in images and PDF documents but increases processing time, especially if there are a large number of images. But it is a nice feature to have.

Next, we are prompted for file hashing. AXIOM Process can hash every file and also compare it to a specific hash an analyst may be looking for. For the purposes of this, it is disabled, it also significantly affects processing time.

We also have the option to categorize chats with Magnet.AI. Since this is not a sex crime or grooming related case, I disable the options.
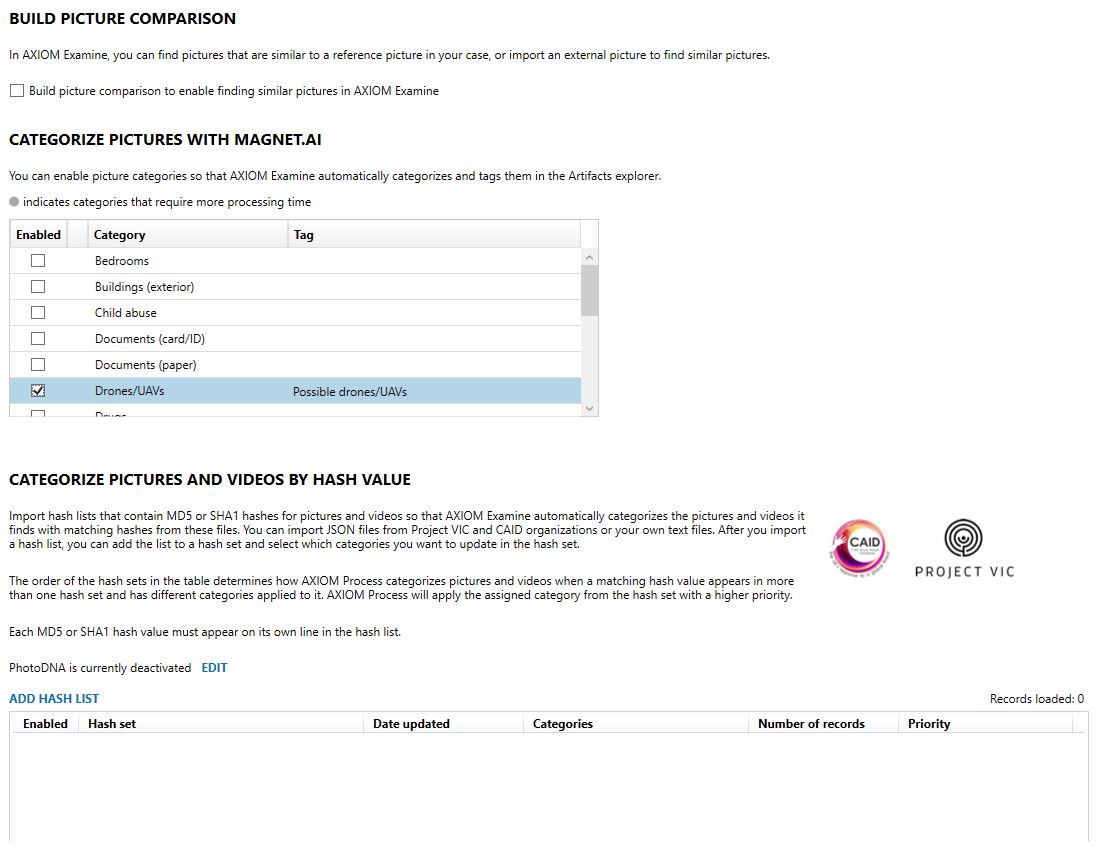
Magnet.AI can also categorize pictures based on faces, buildings, rooms, ect. This is a really useful feature. I have checked “Faces” and “Drones/UAVs”. It’s best not to completely rely on this feature and double check the images but it can often quickly lead to evidence.

AXIOM Process can also automatically search for CPS data provided from a list. In this case, it is not needed or used, but again, a great feature.

Next, it is possible to add custom artifacts and filetypes to search for. A handy feature unneeded for this case.

And finally, we can de-select or add more artifacts that AXIOM Process supports for this device. AXIOM Process supports quite a large number of artifacts out of the box.

And finally, AXIOM Process can begin acquiring the full device image and then processing it. It’s time to go get a coffee, then work on something else while this finishes.
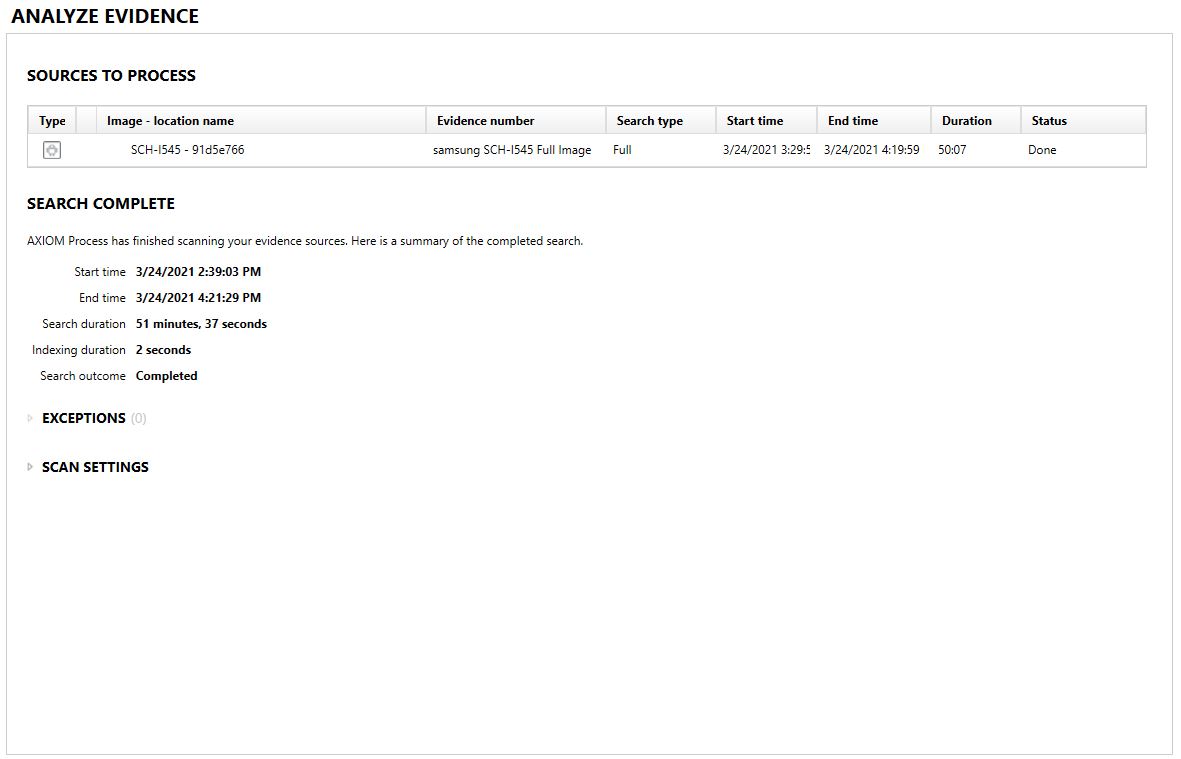
On my machine, for this phone, it took a total of 51 minutes to acquire and process the device. AXIOM Process will automatically open AXIOM Examine to begin exploring the data. All the case files can be found in the location specified earlier. Now we are ready to begin the analysis in AXIOM Examine… in Part 2, coming soon!.