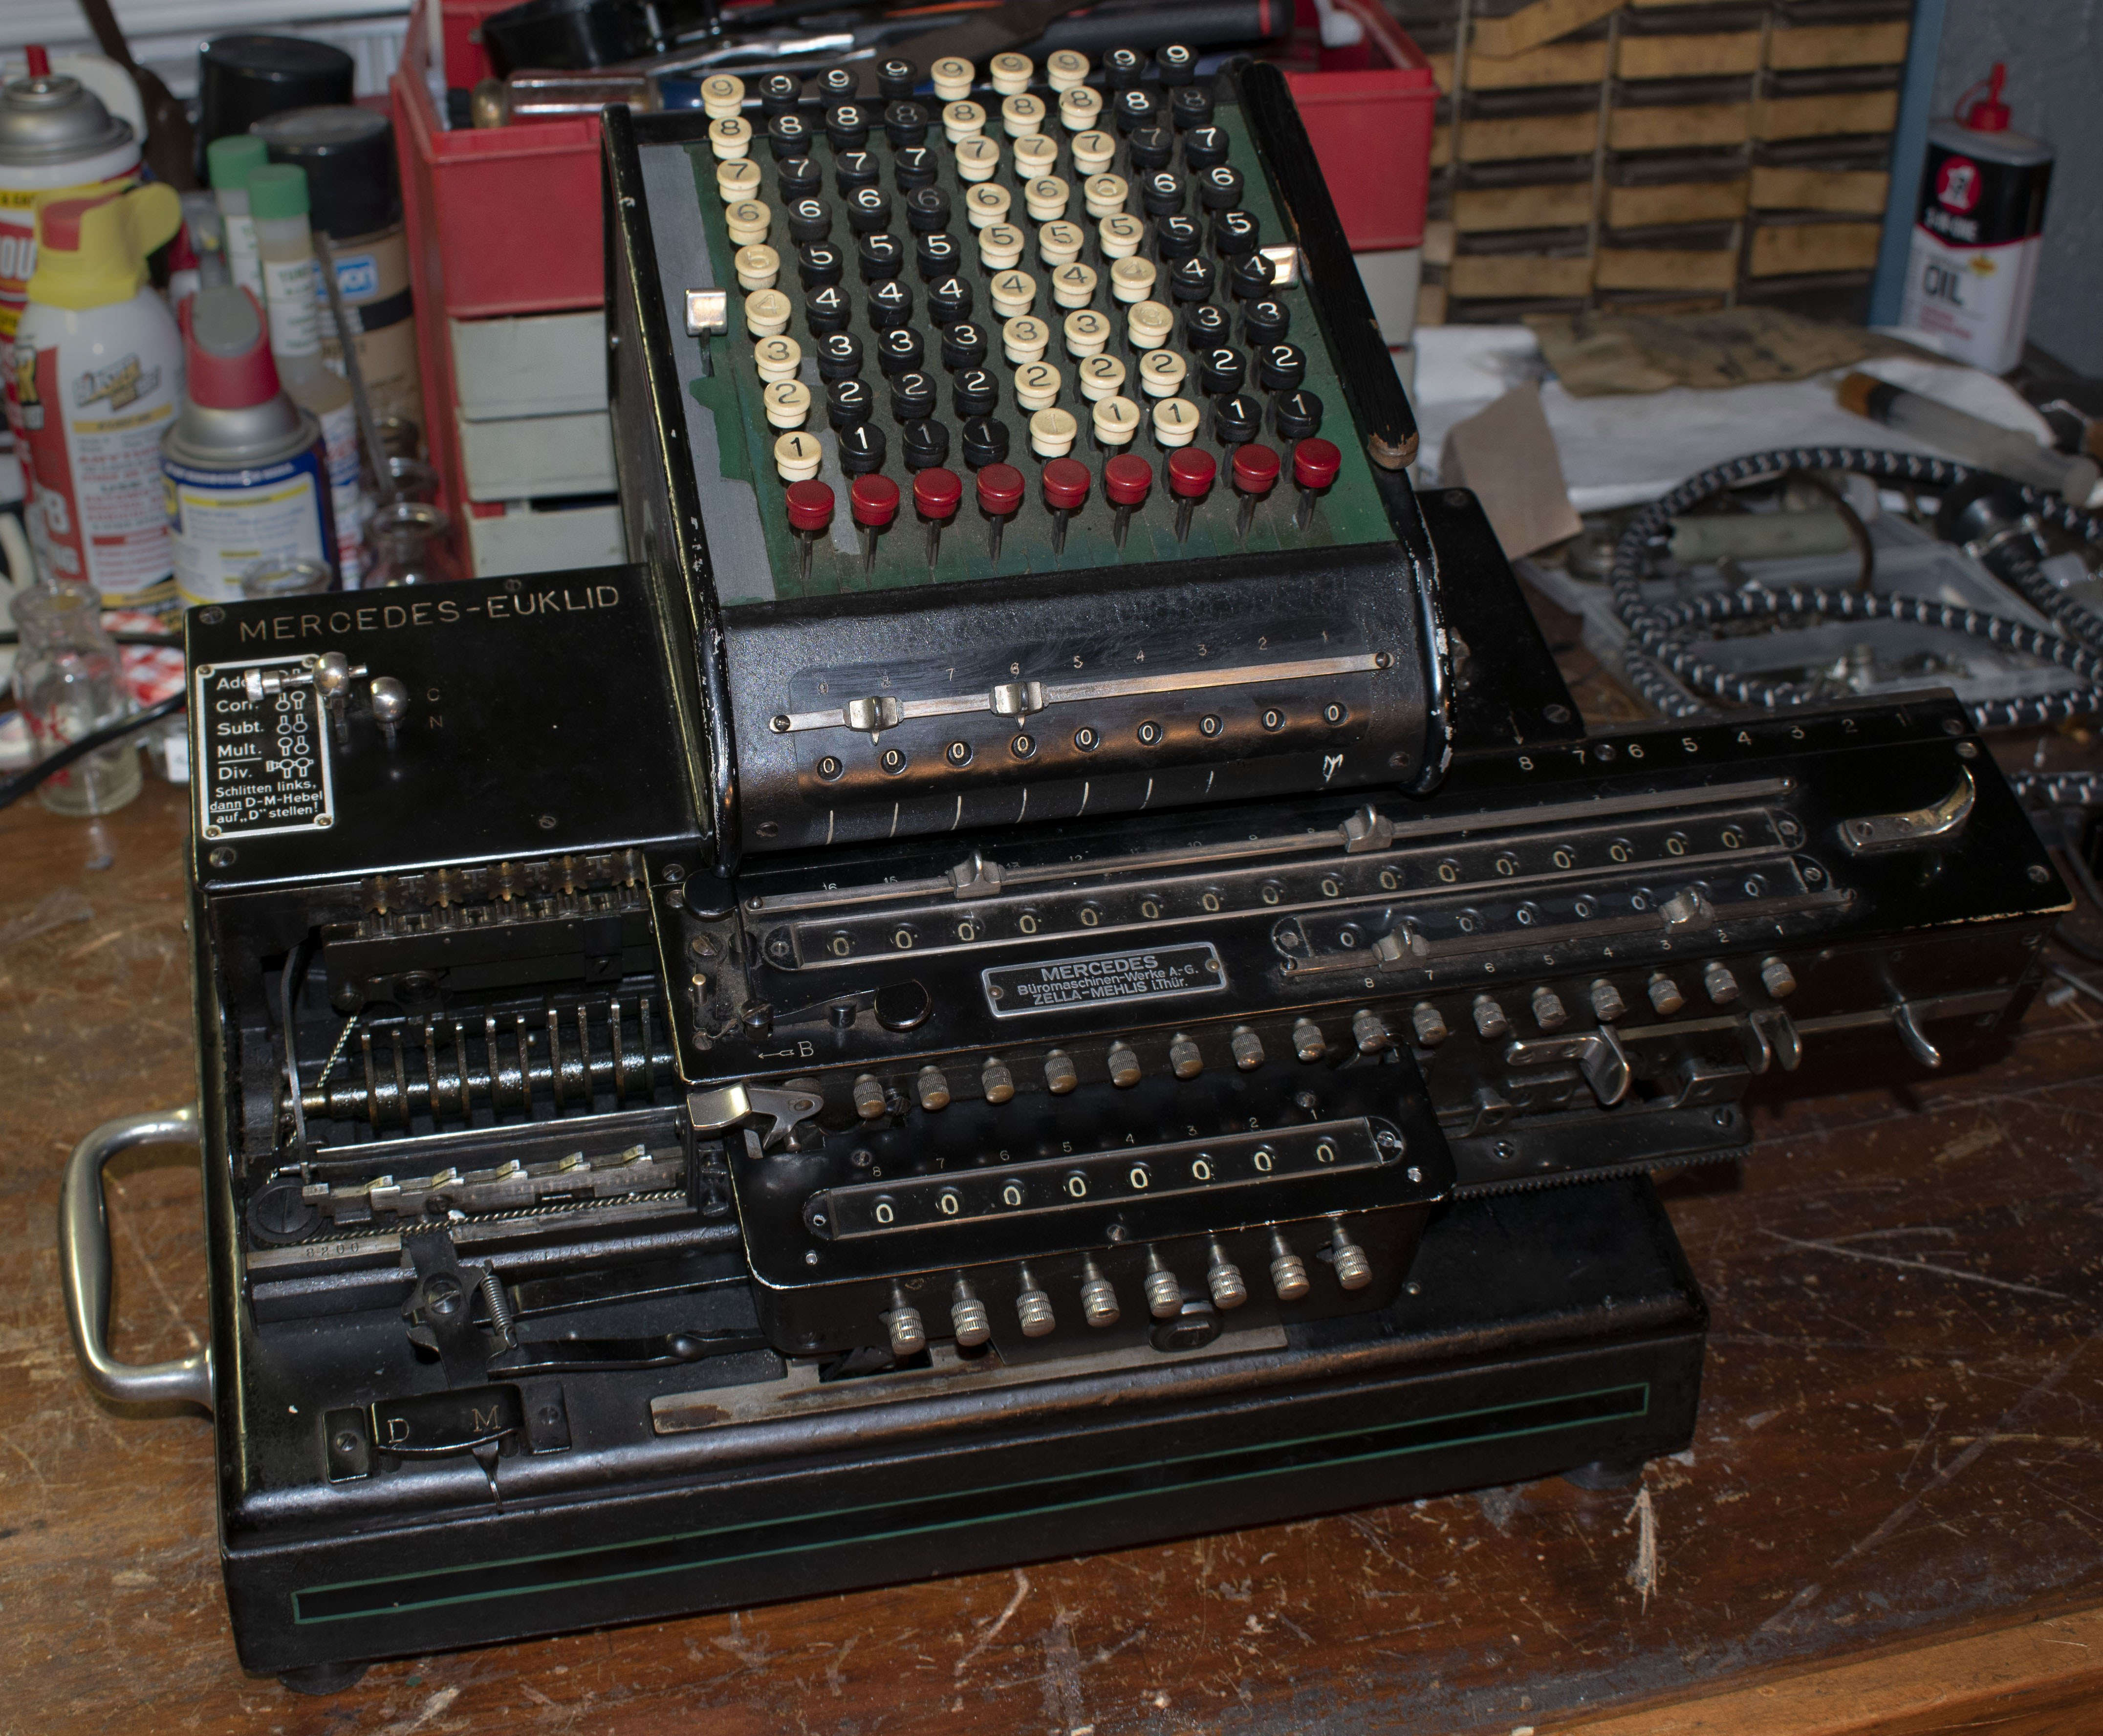
Overview
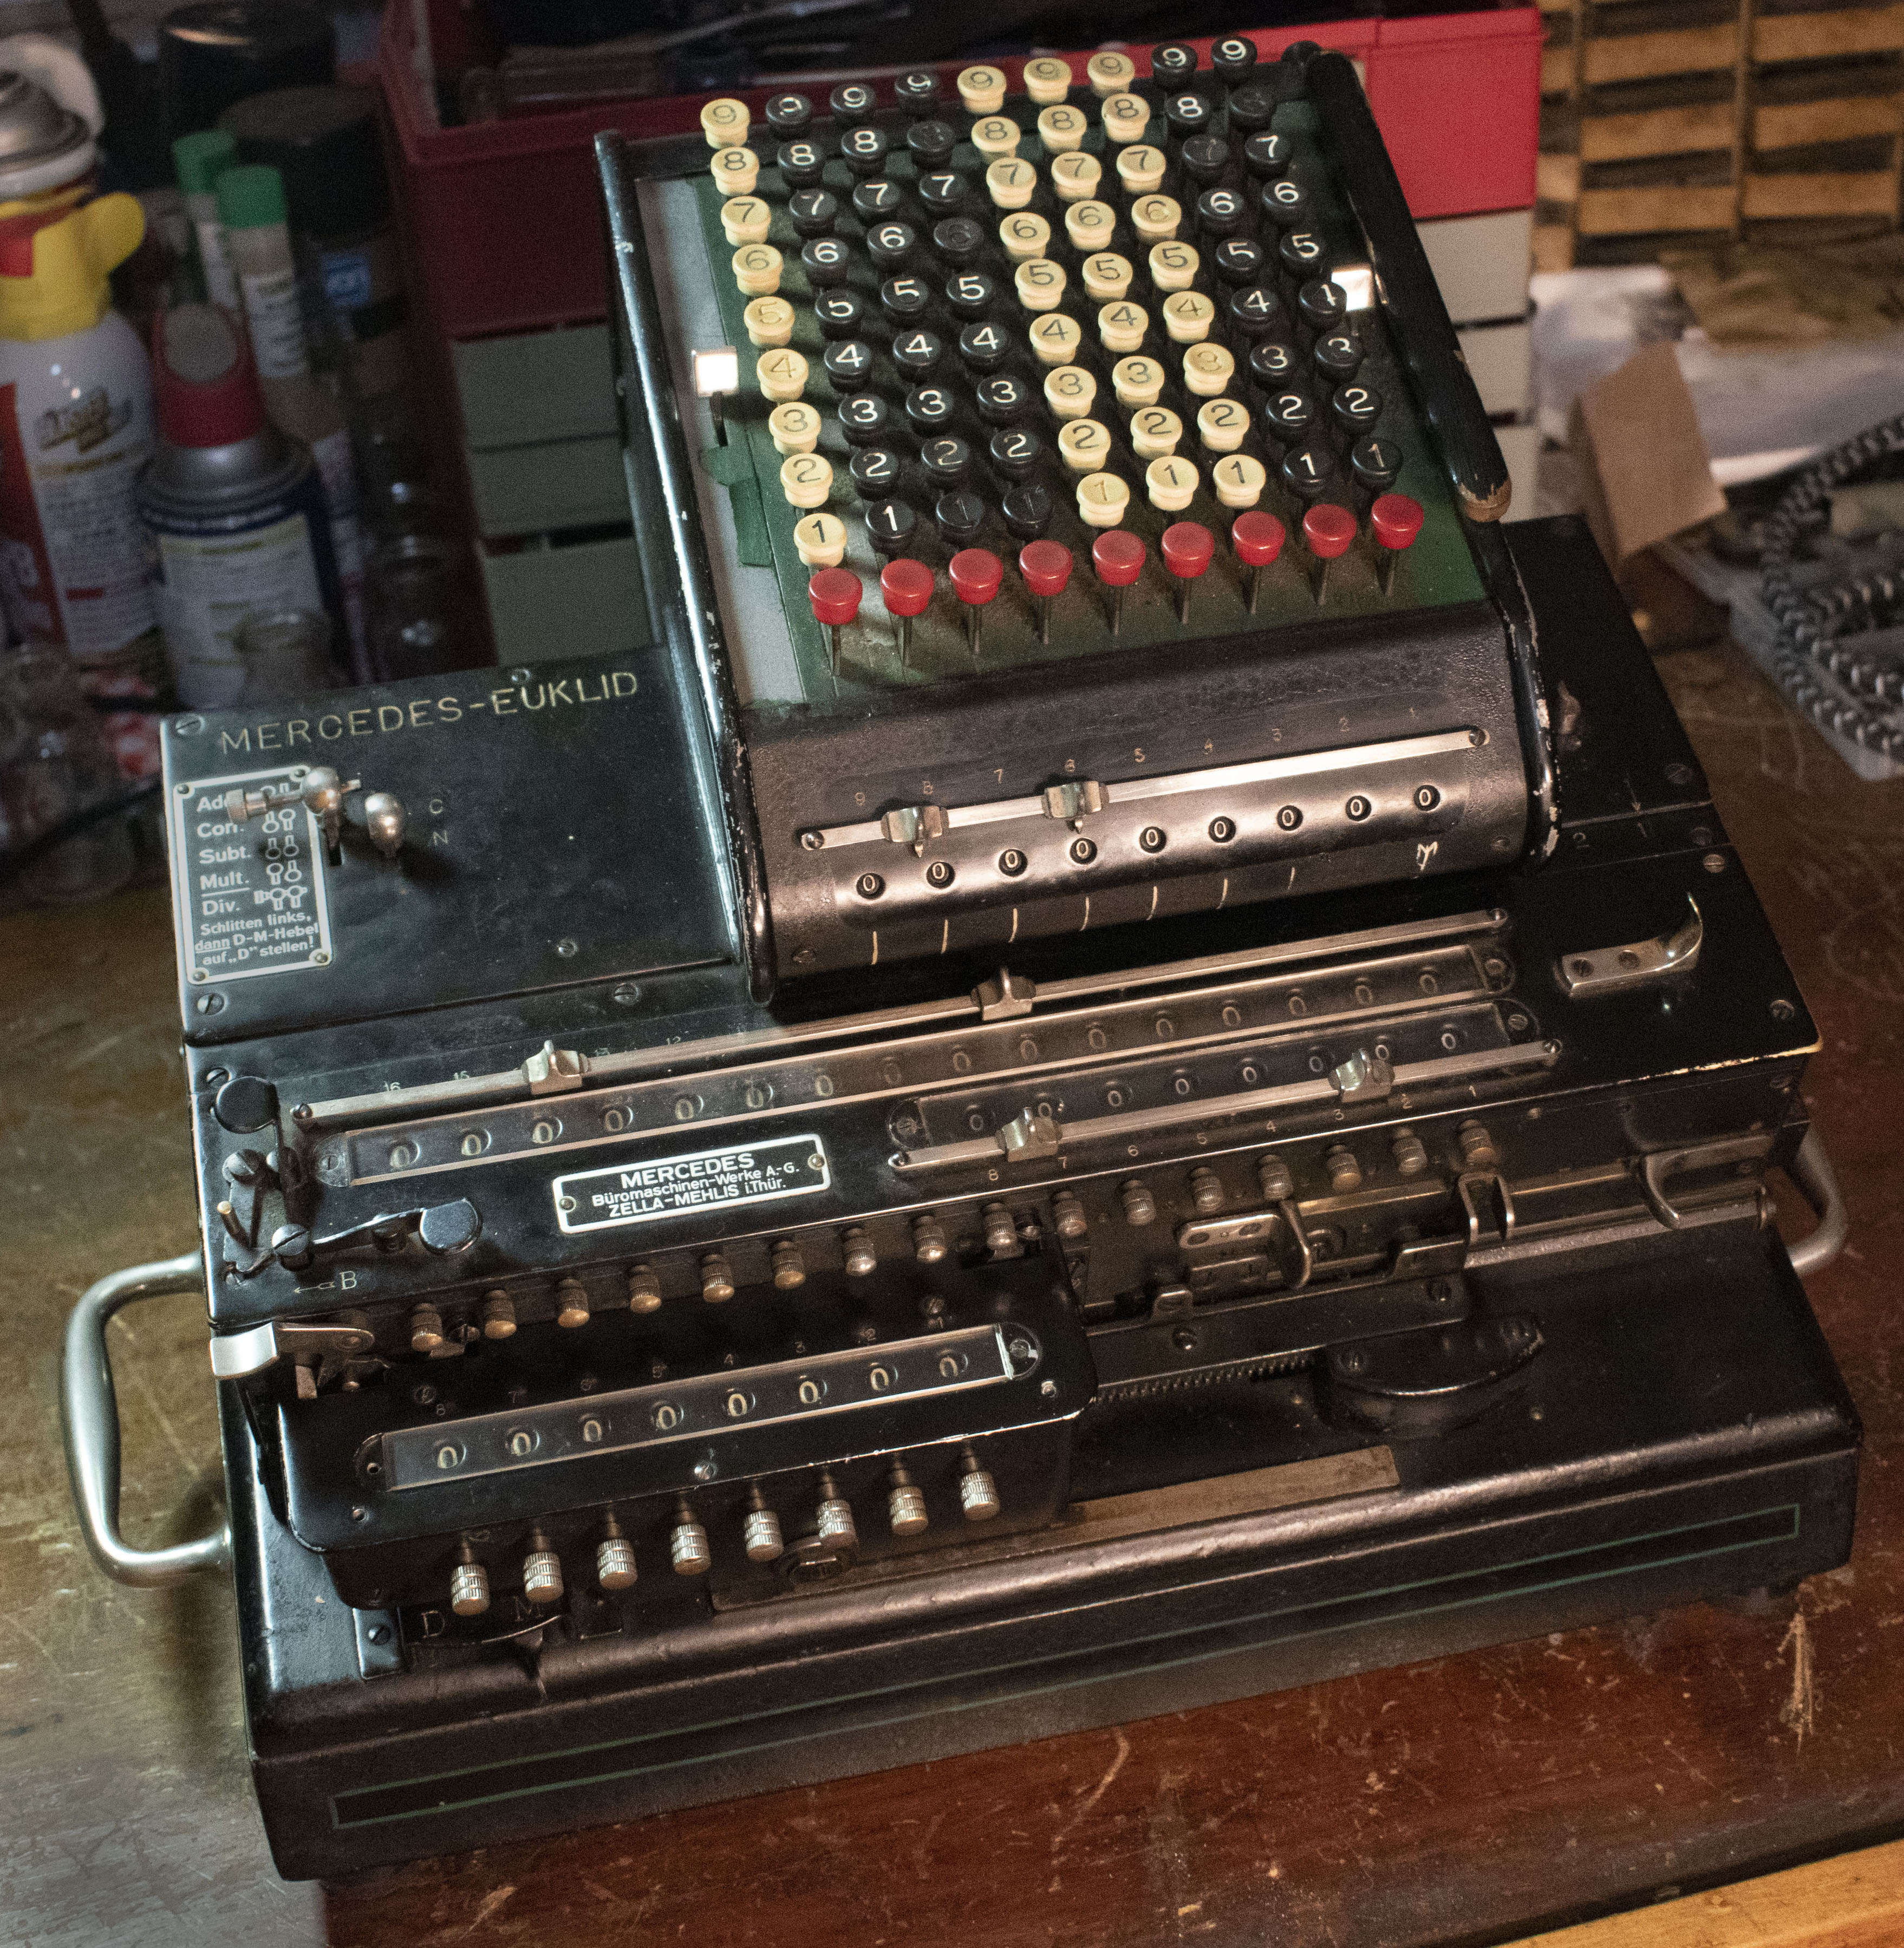
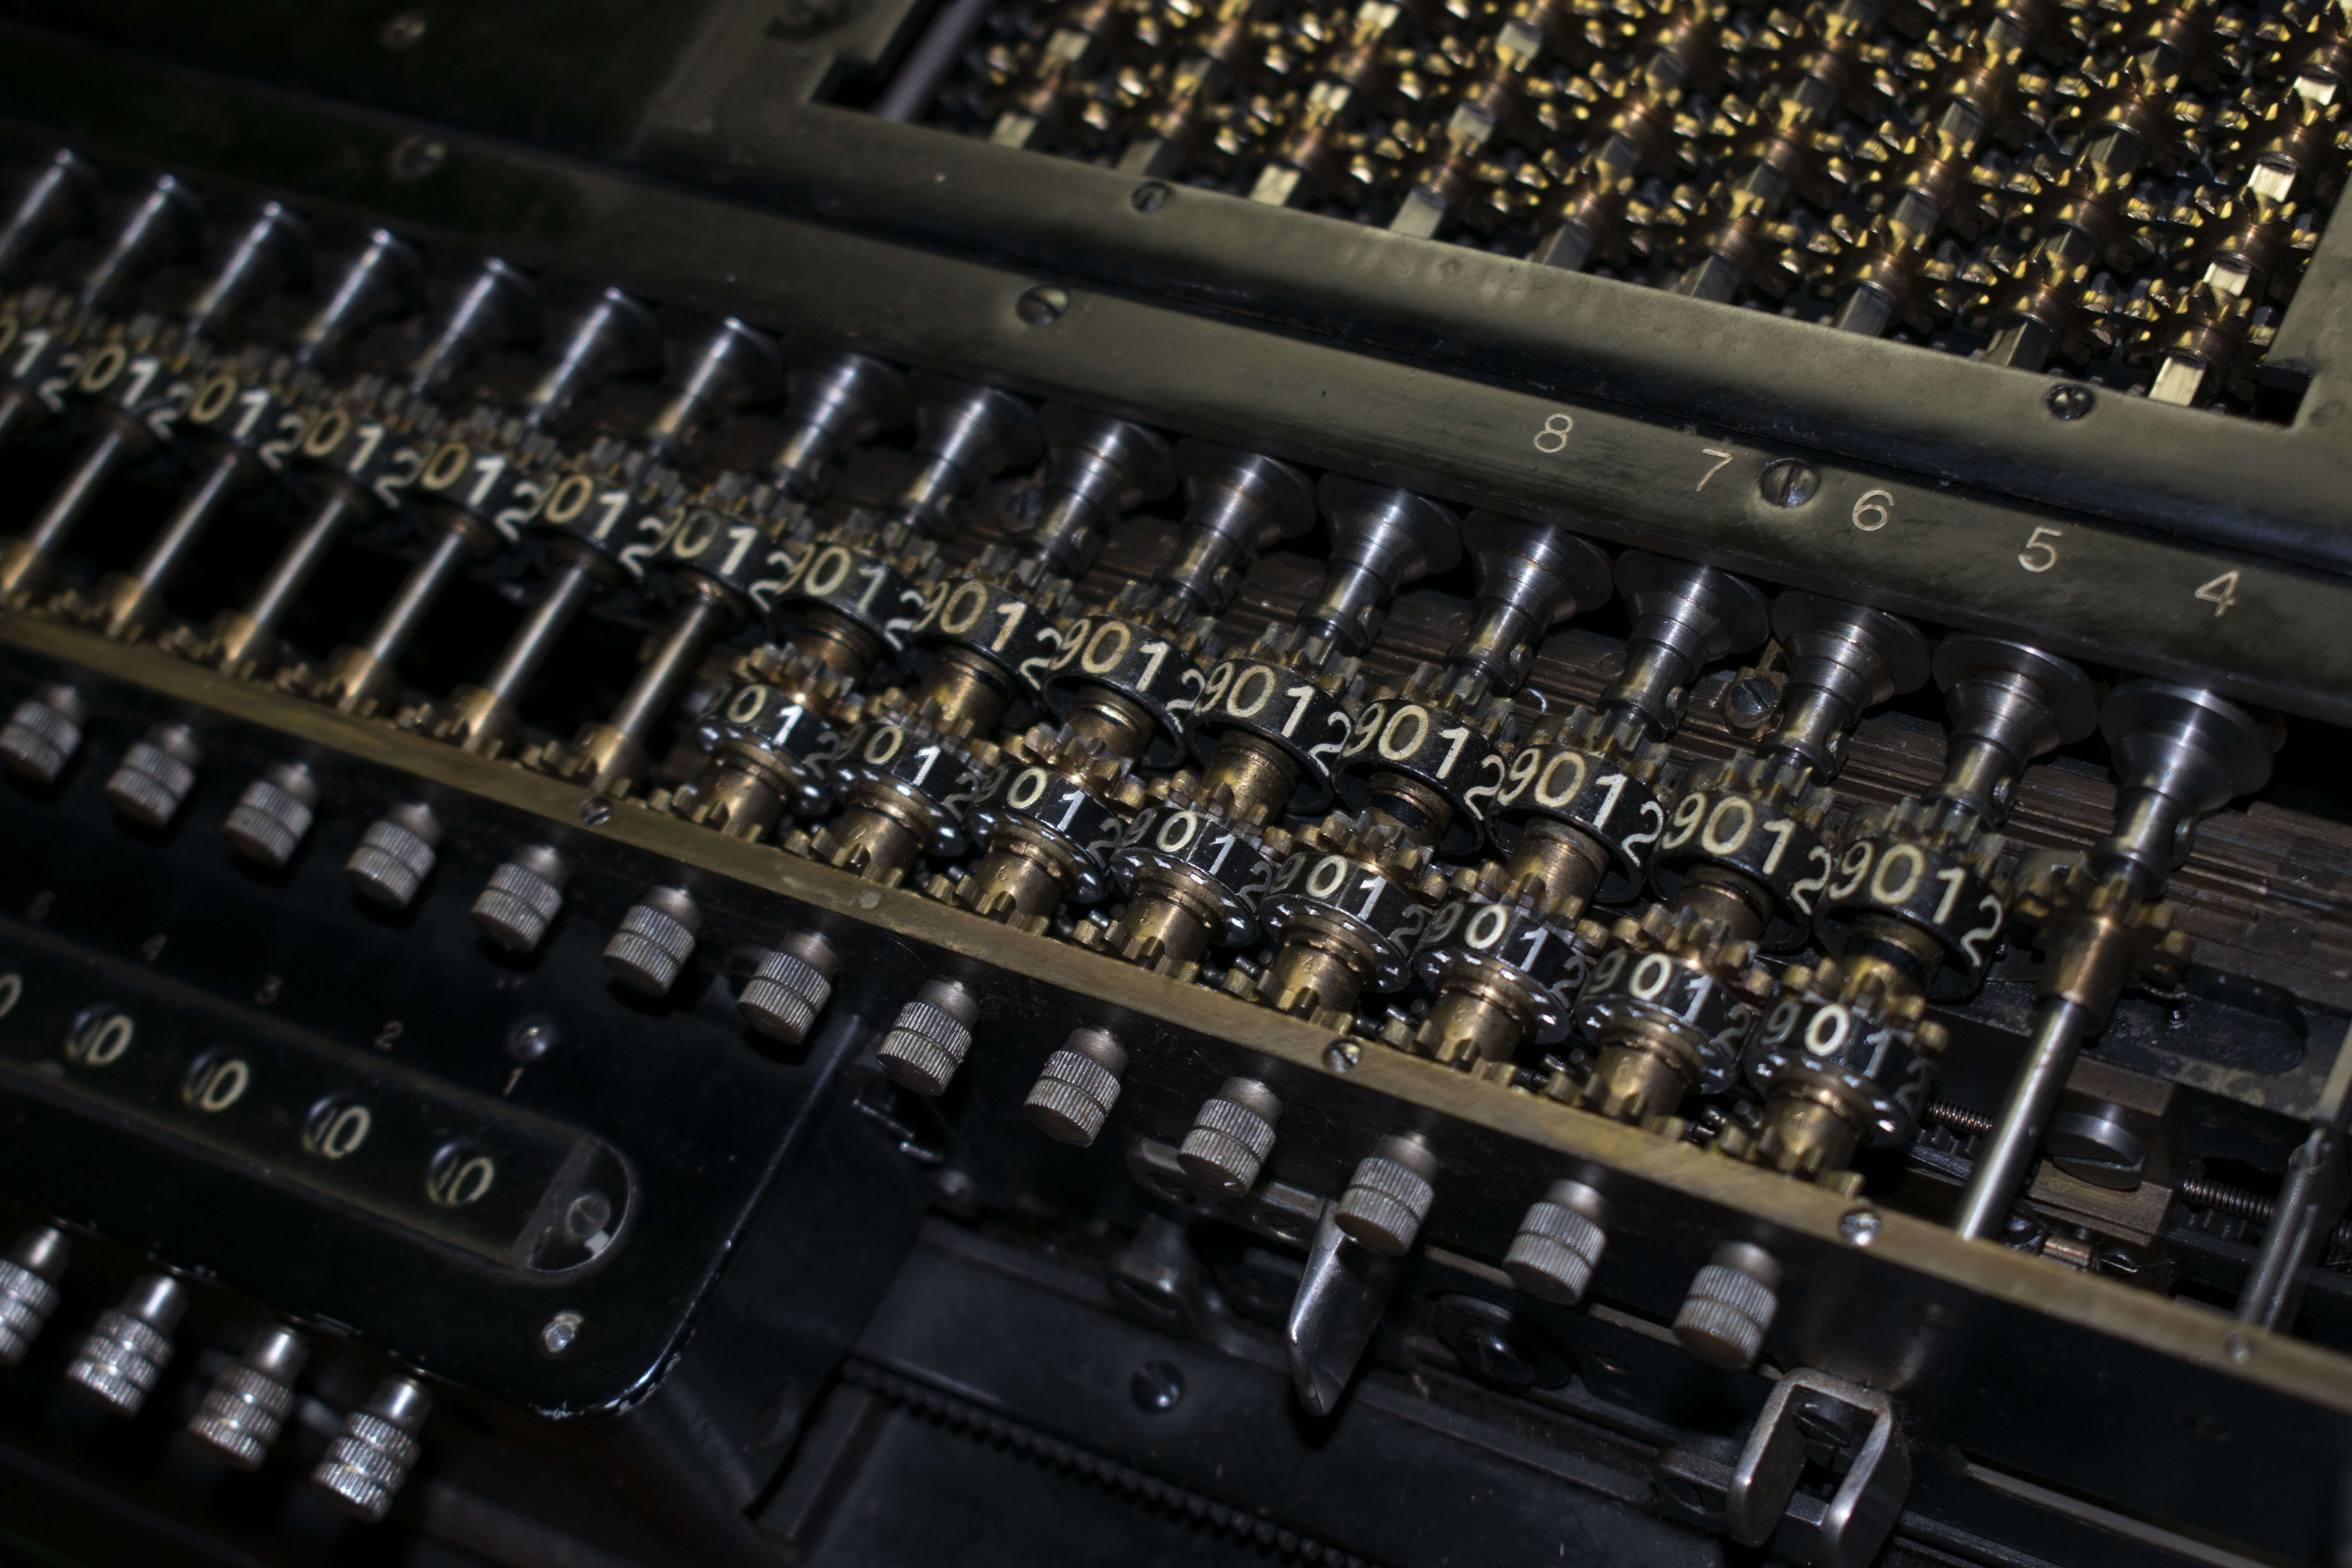
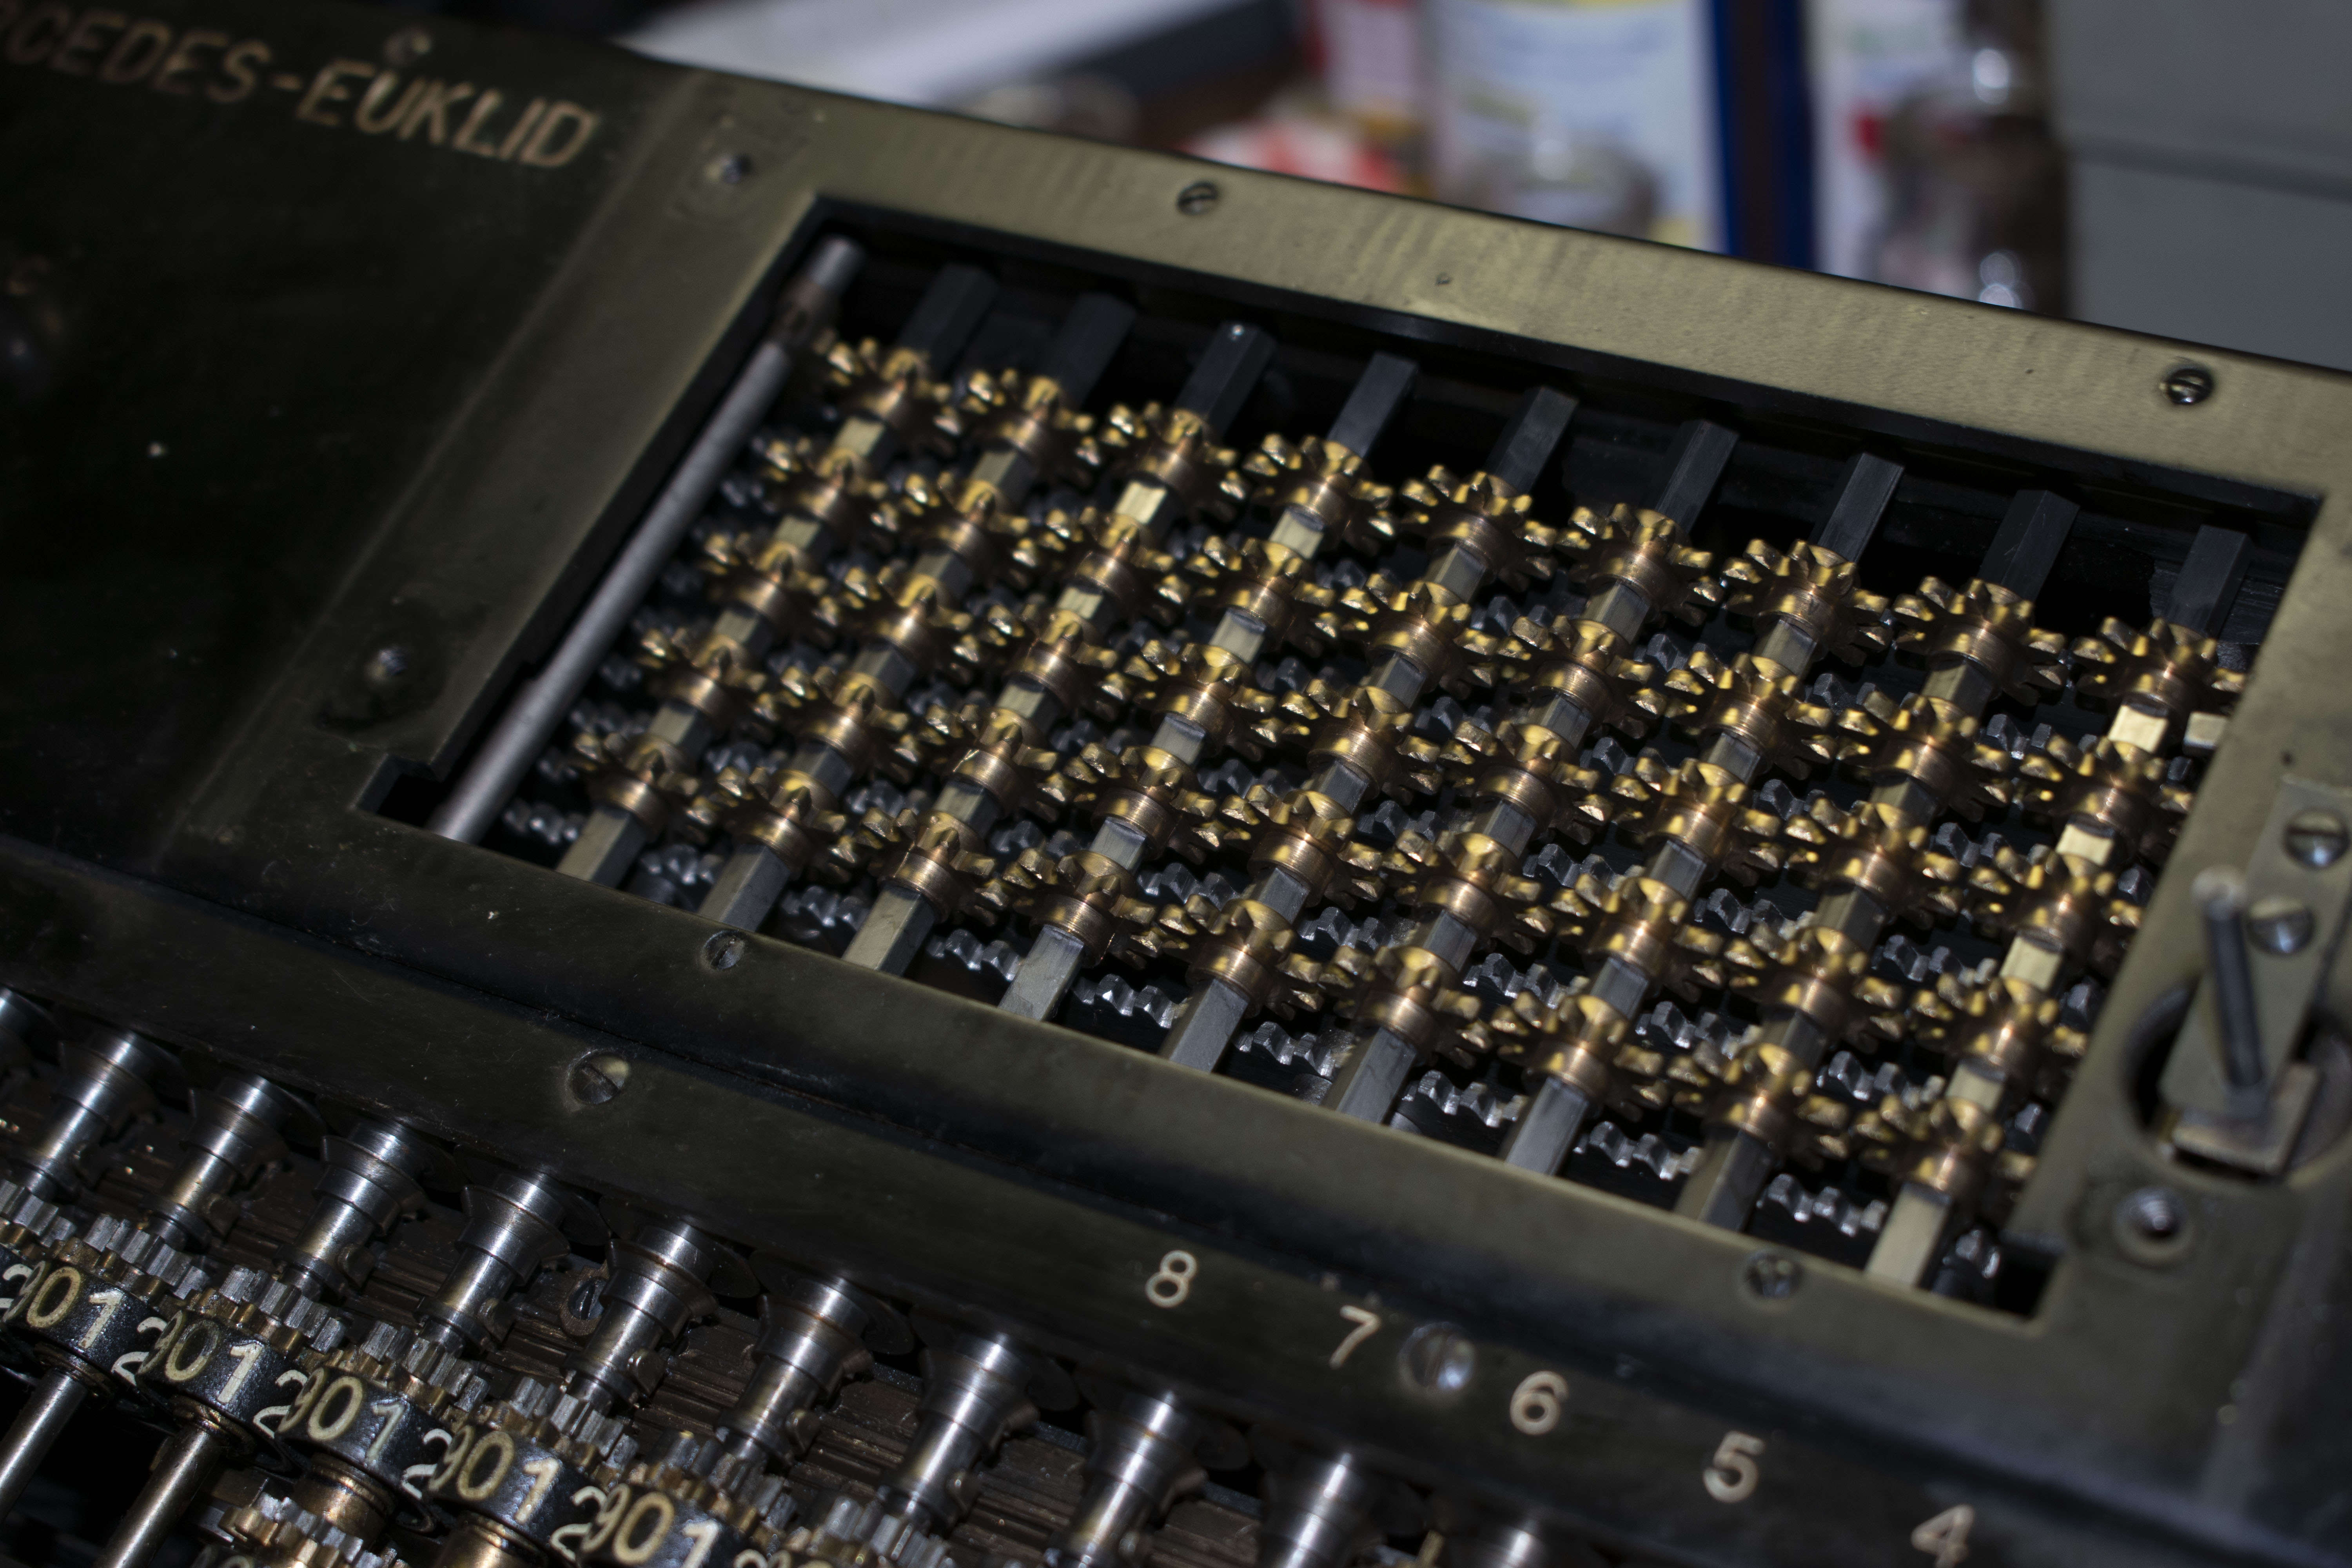
First produced in 1913, this machine is the first commercially available fully automatic electric mechanical calculator. Produced by Mercedes Bureau-Maschinen in Zella-Mehlis, Germany, this specific machine was made in 1923. Mercedes machines uses a unique principal for operation - proportional levers. Instead of a drum or special gear mechanism, a system of racks is pivoted and used to turn gears different amounts. This unique design was used as the basis for all of their machines.
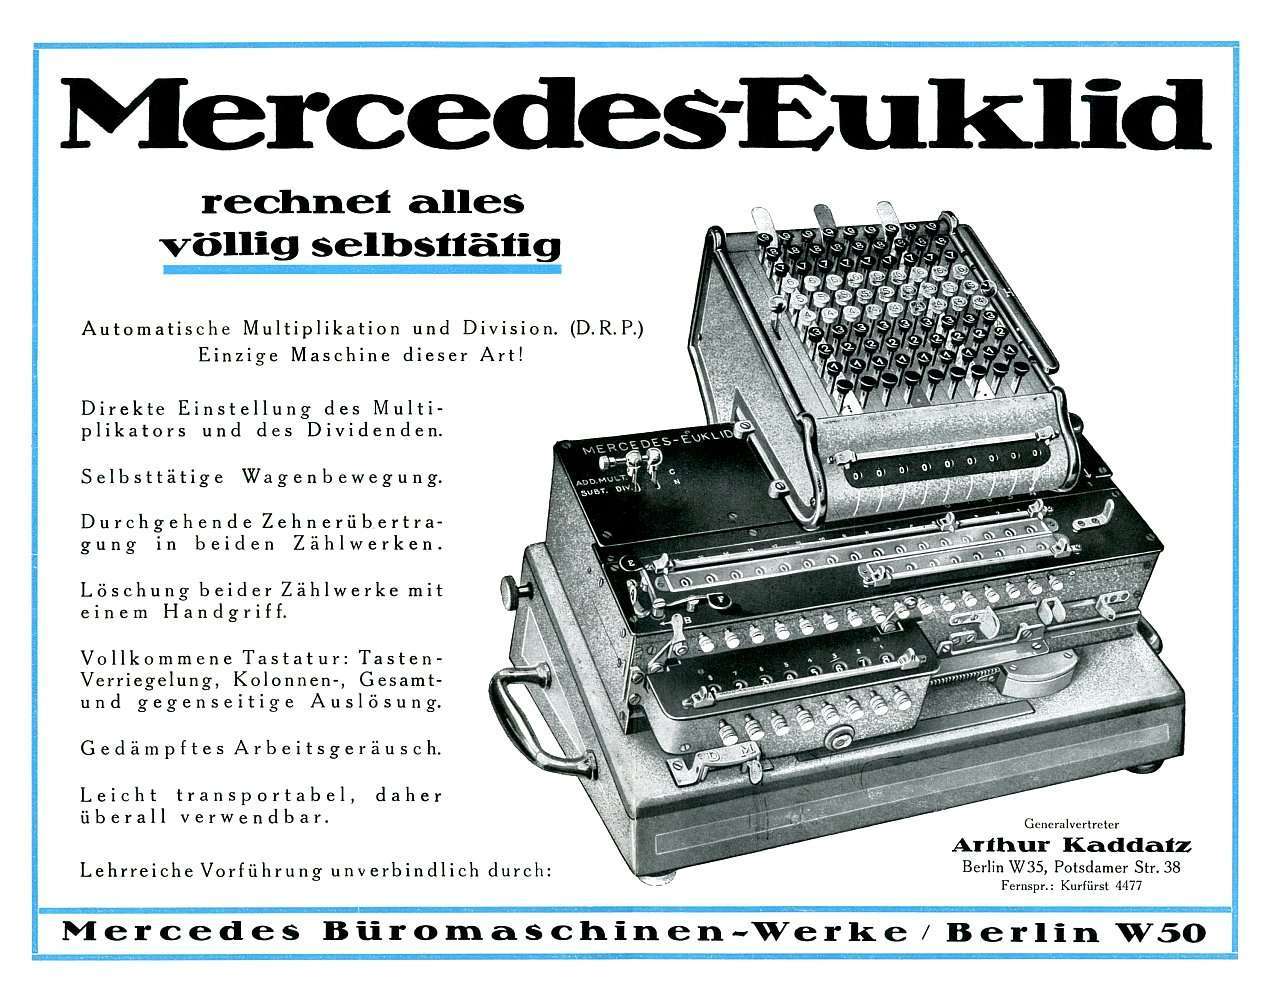
There were many Mercedes models based off the same idea and design. For many of those designs, it visually appears like pieces were just set on top or in front of a base Mercedes Euklid machine. This machine is no exception. It is essentially a base Mercedes Euklid set on top of a motorized base, with a keyboard stacked on top of the machine, and a multiply register stuck to the front of the carriage. A lovely design of function before form. The model VIII sold particularly well thanks to the automatic functions.
Controls
There are a few different controls located around the machine.
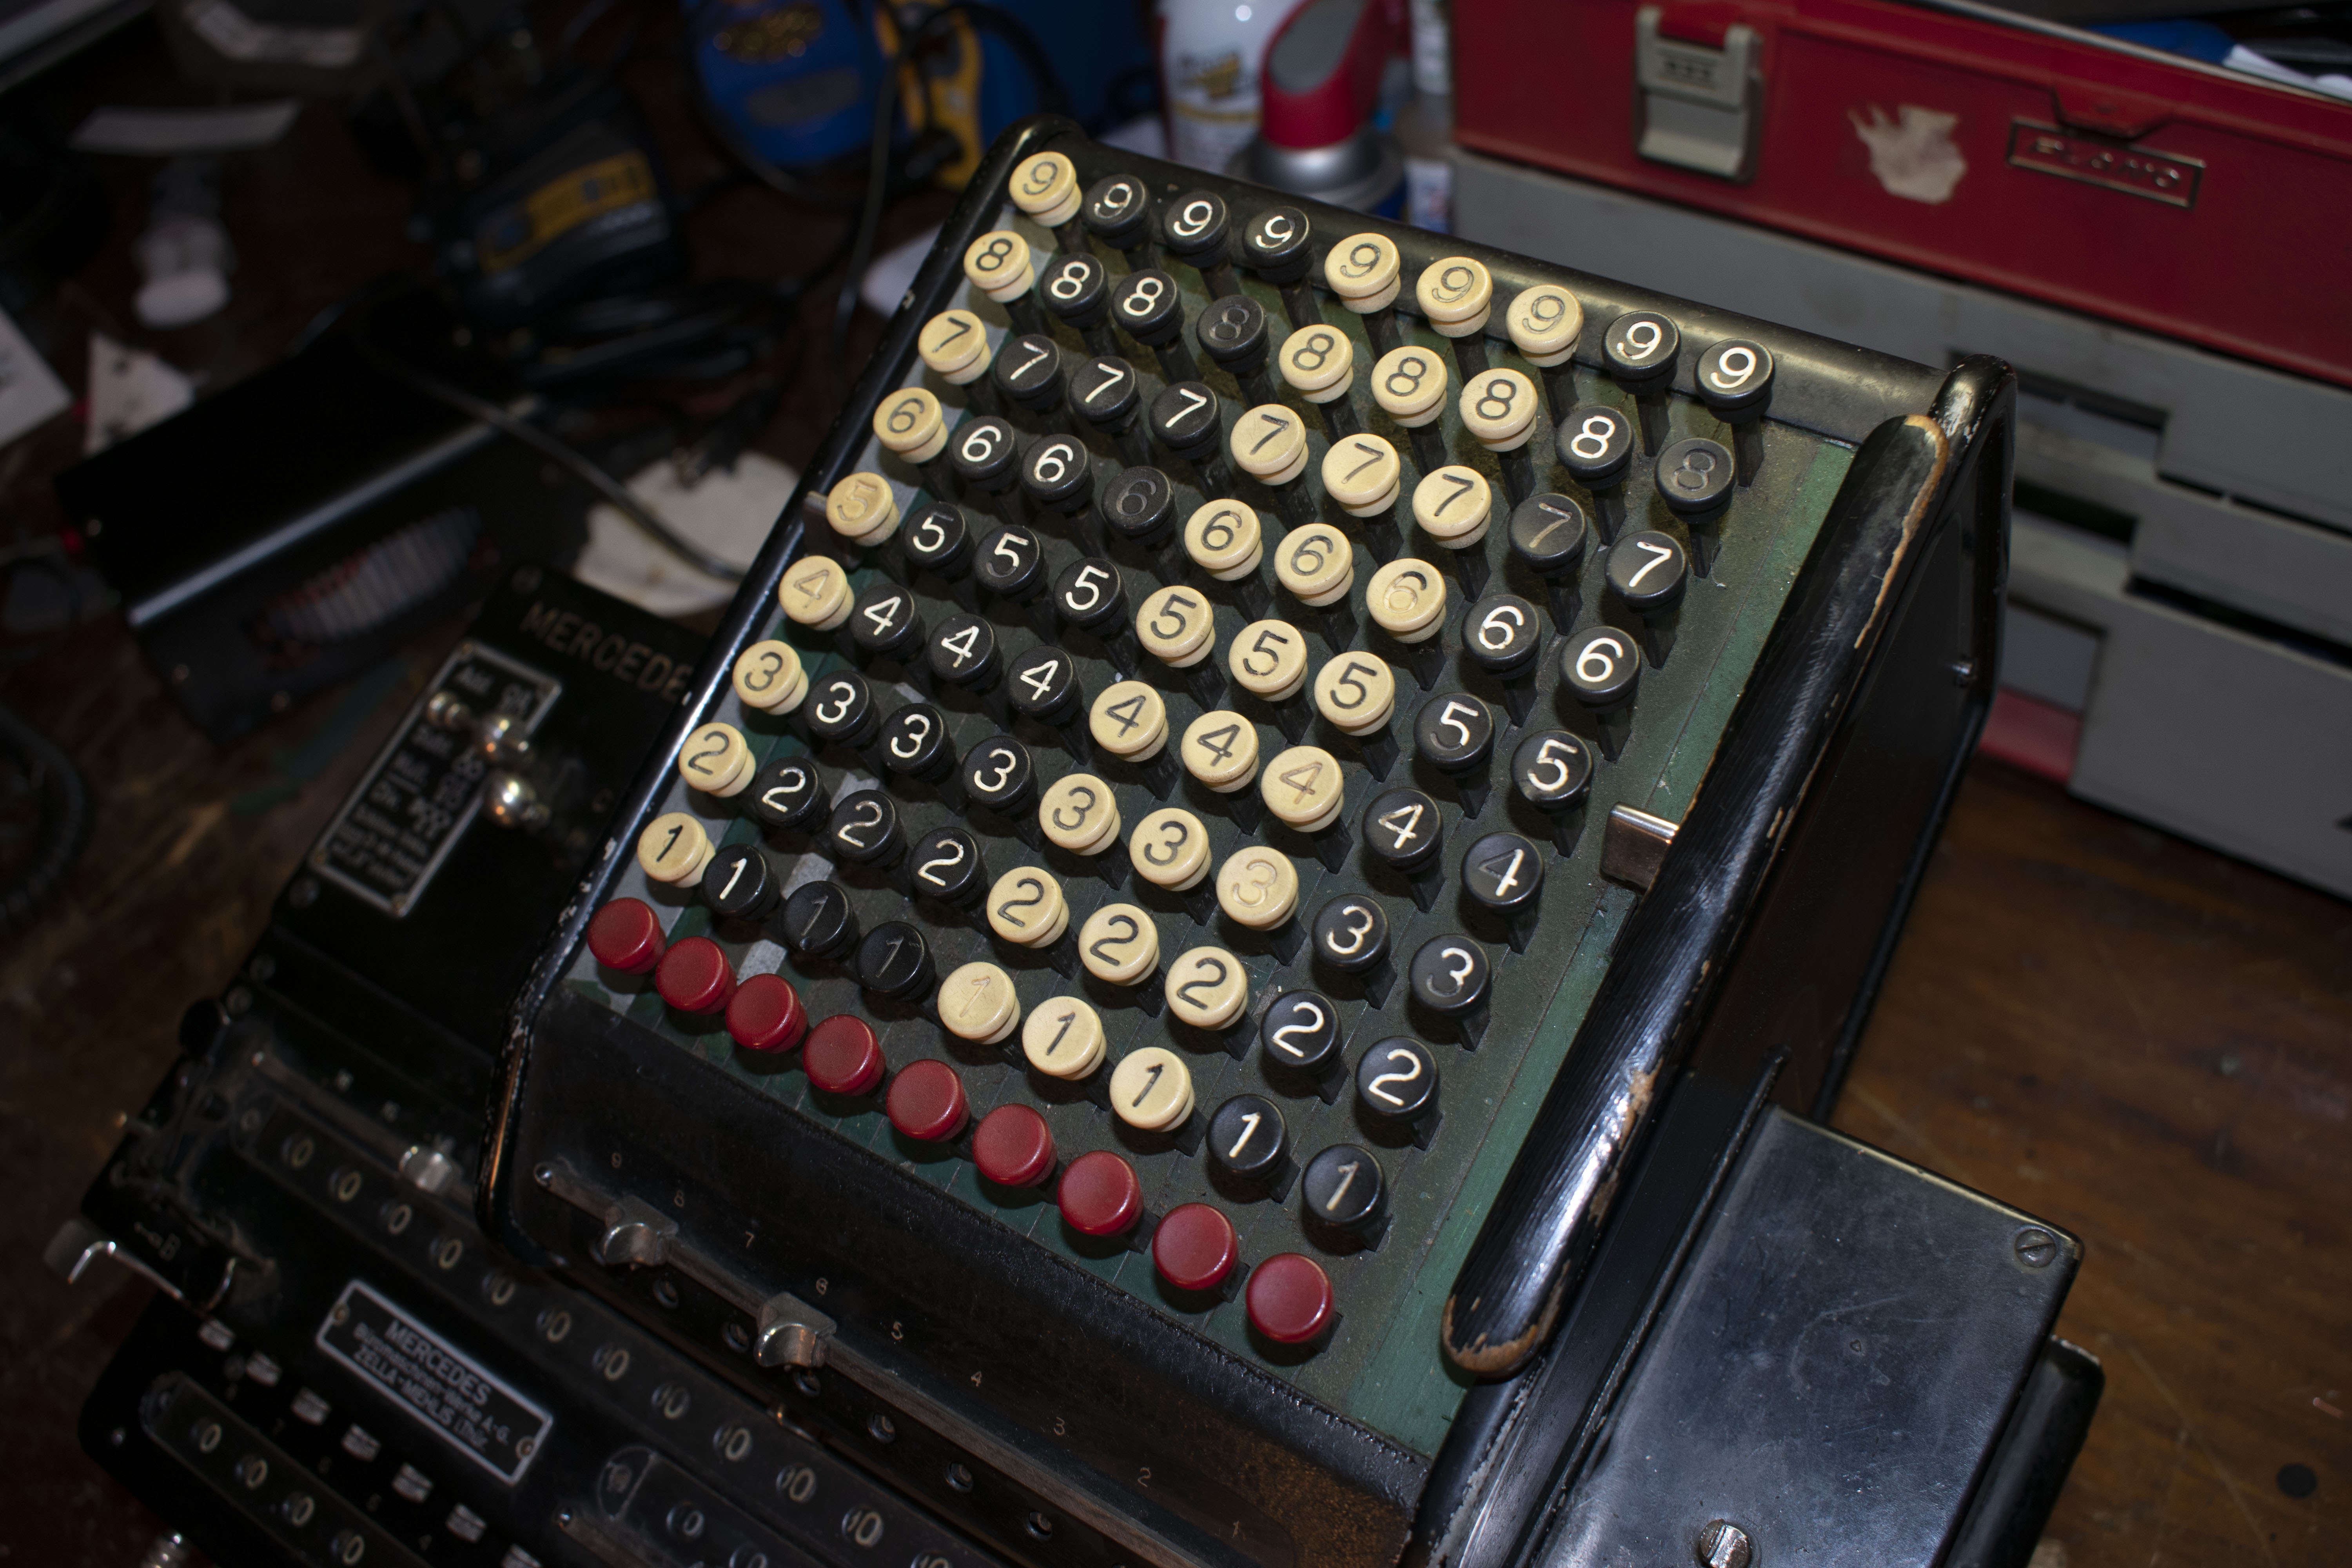
At the top is the keyboard for input. There are nine columns, each with nine digits and a key to clear that column. The currently entered digit is shown on dials below each keyboard column. Beside the keys on each side are two silver levers. The left lever clears the keyboard. The right lever, if in the downwards position clears the keyboard after a cycle is performed. On the far right of the keyboard is a large button used to activate the machine for addition and subtraction.

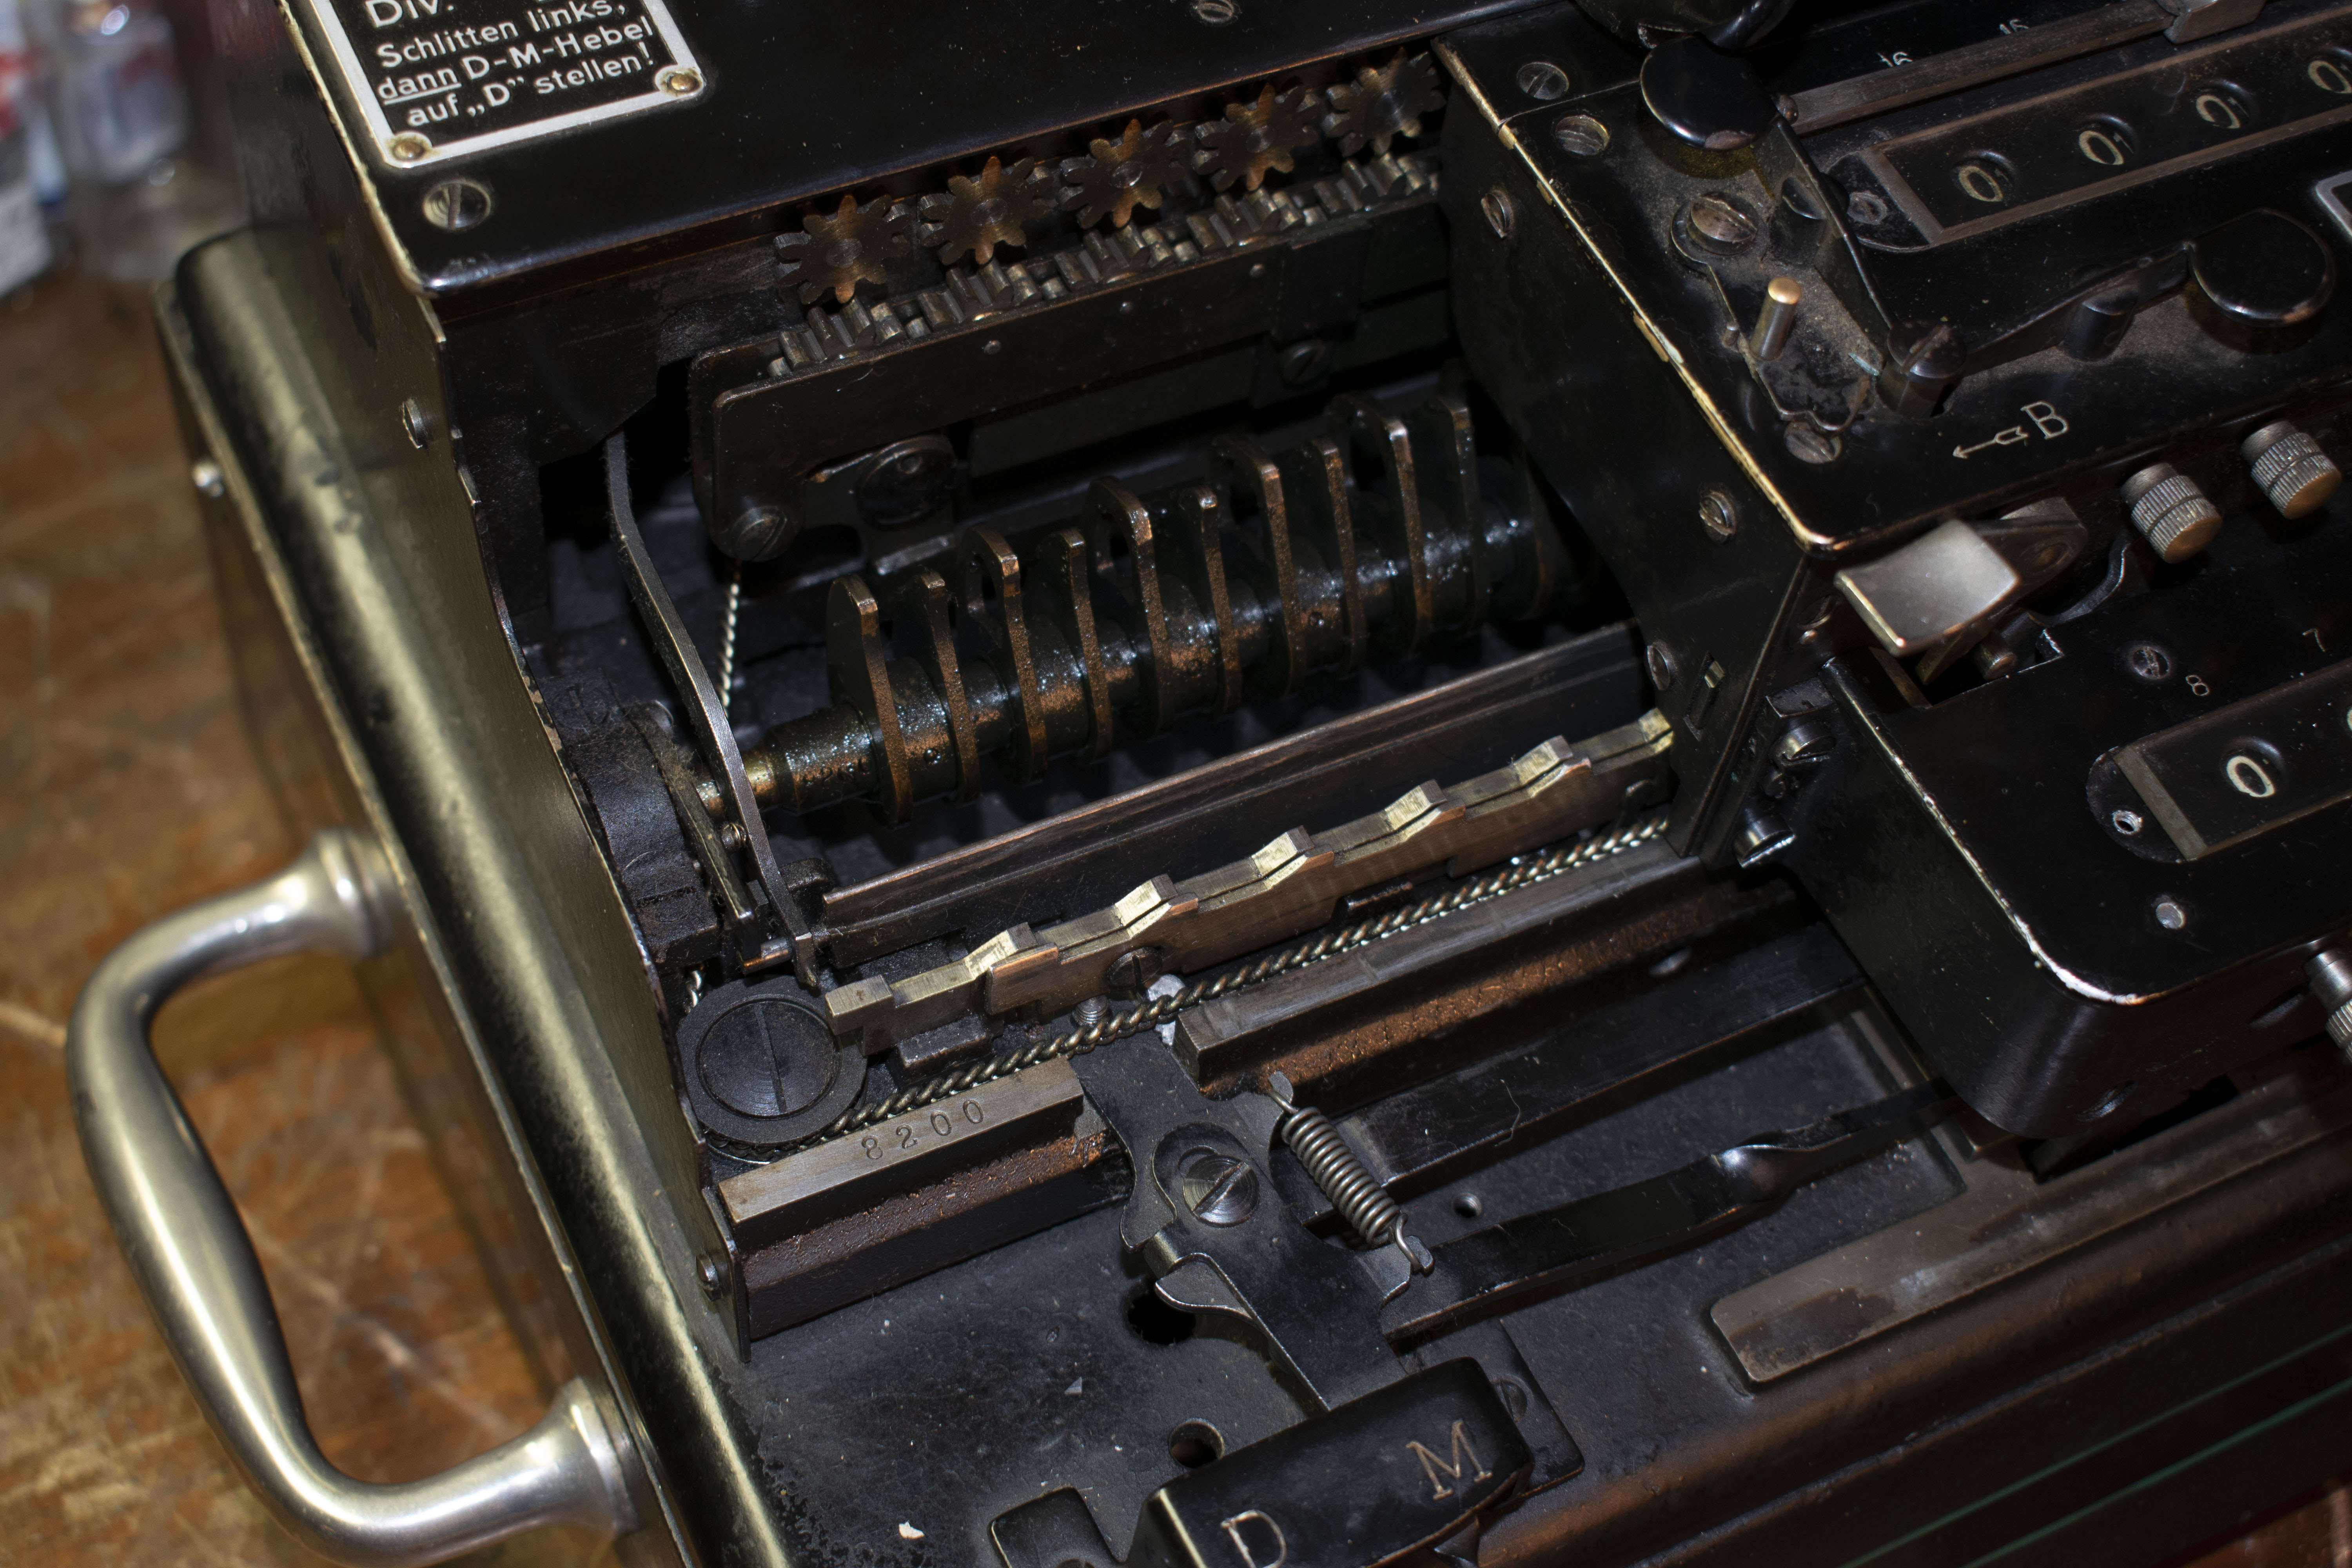
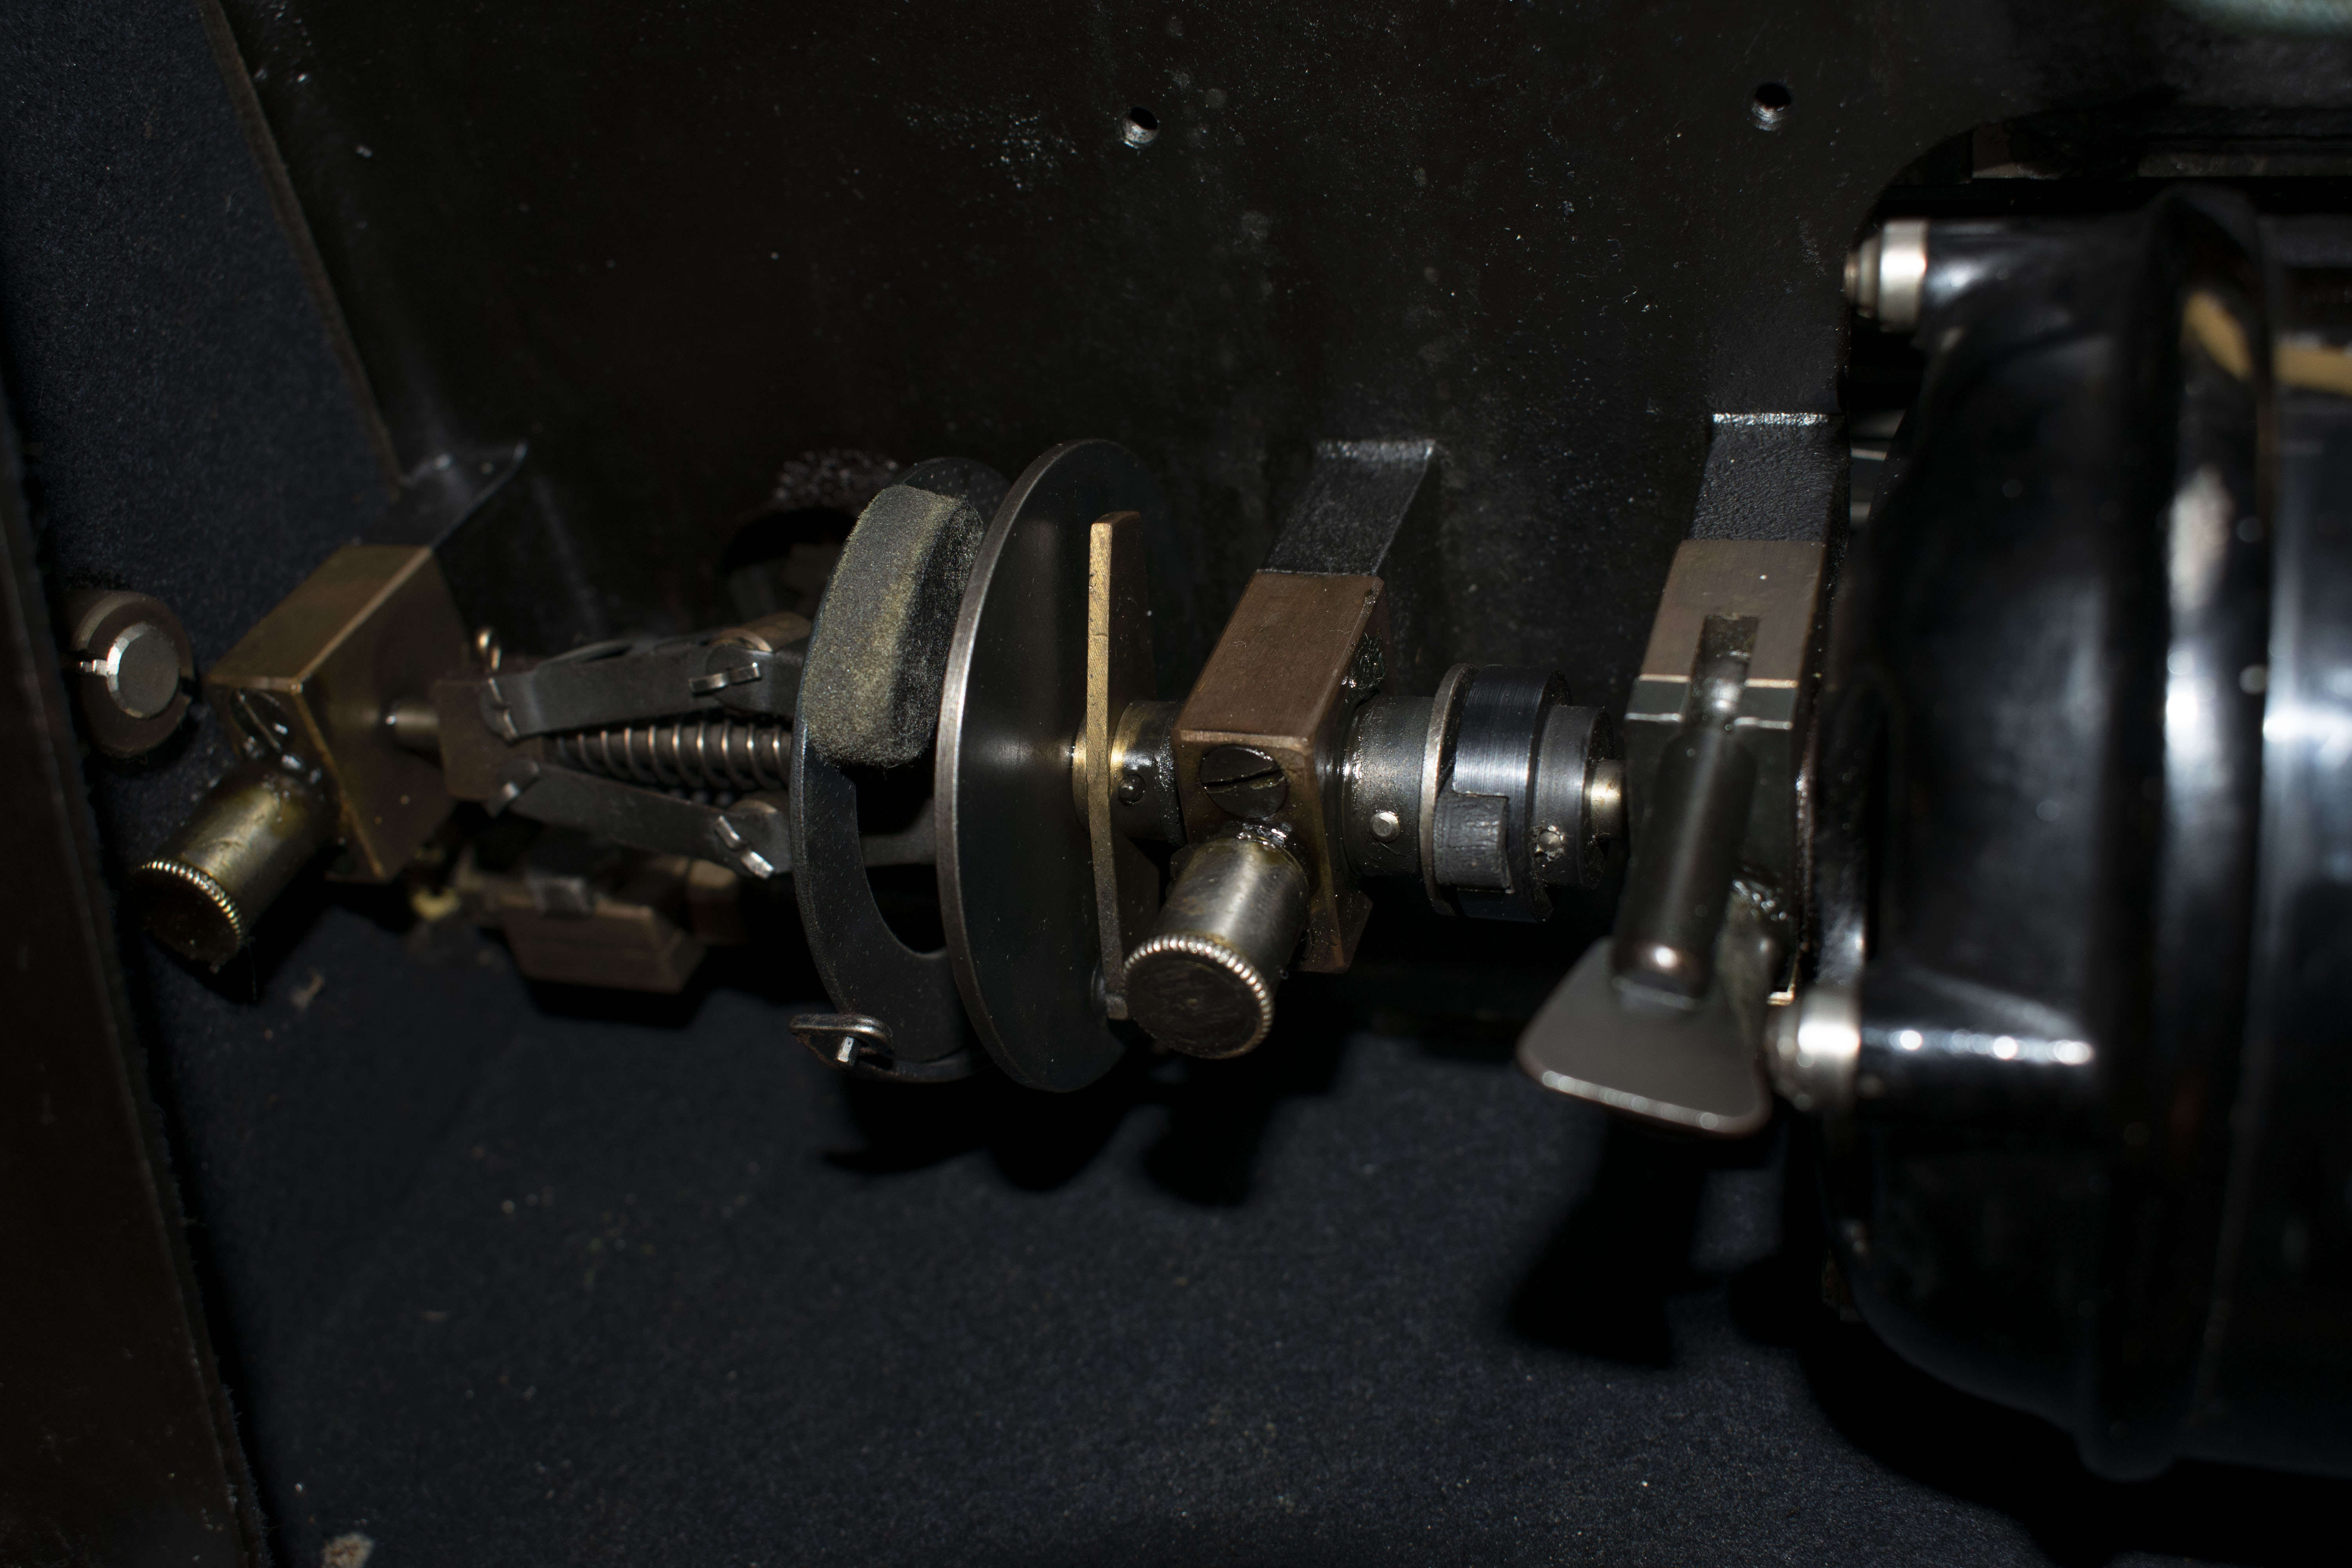
Lower down on the machine are more controls - two levers as well as a pin to connect the two levers. There is a plate that explains the positions of the levers for the different operating modes.
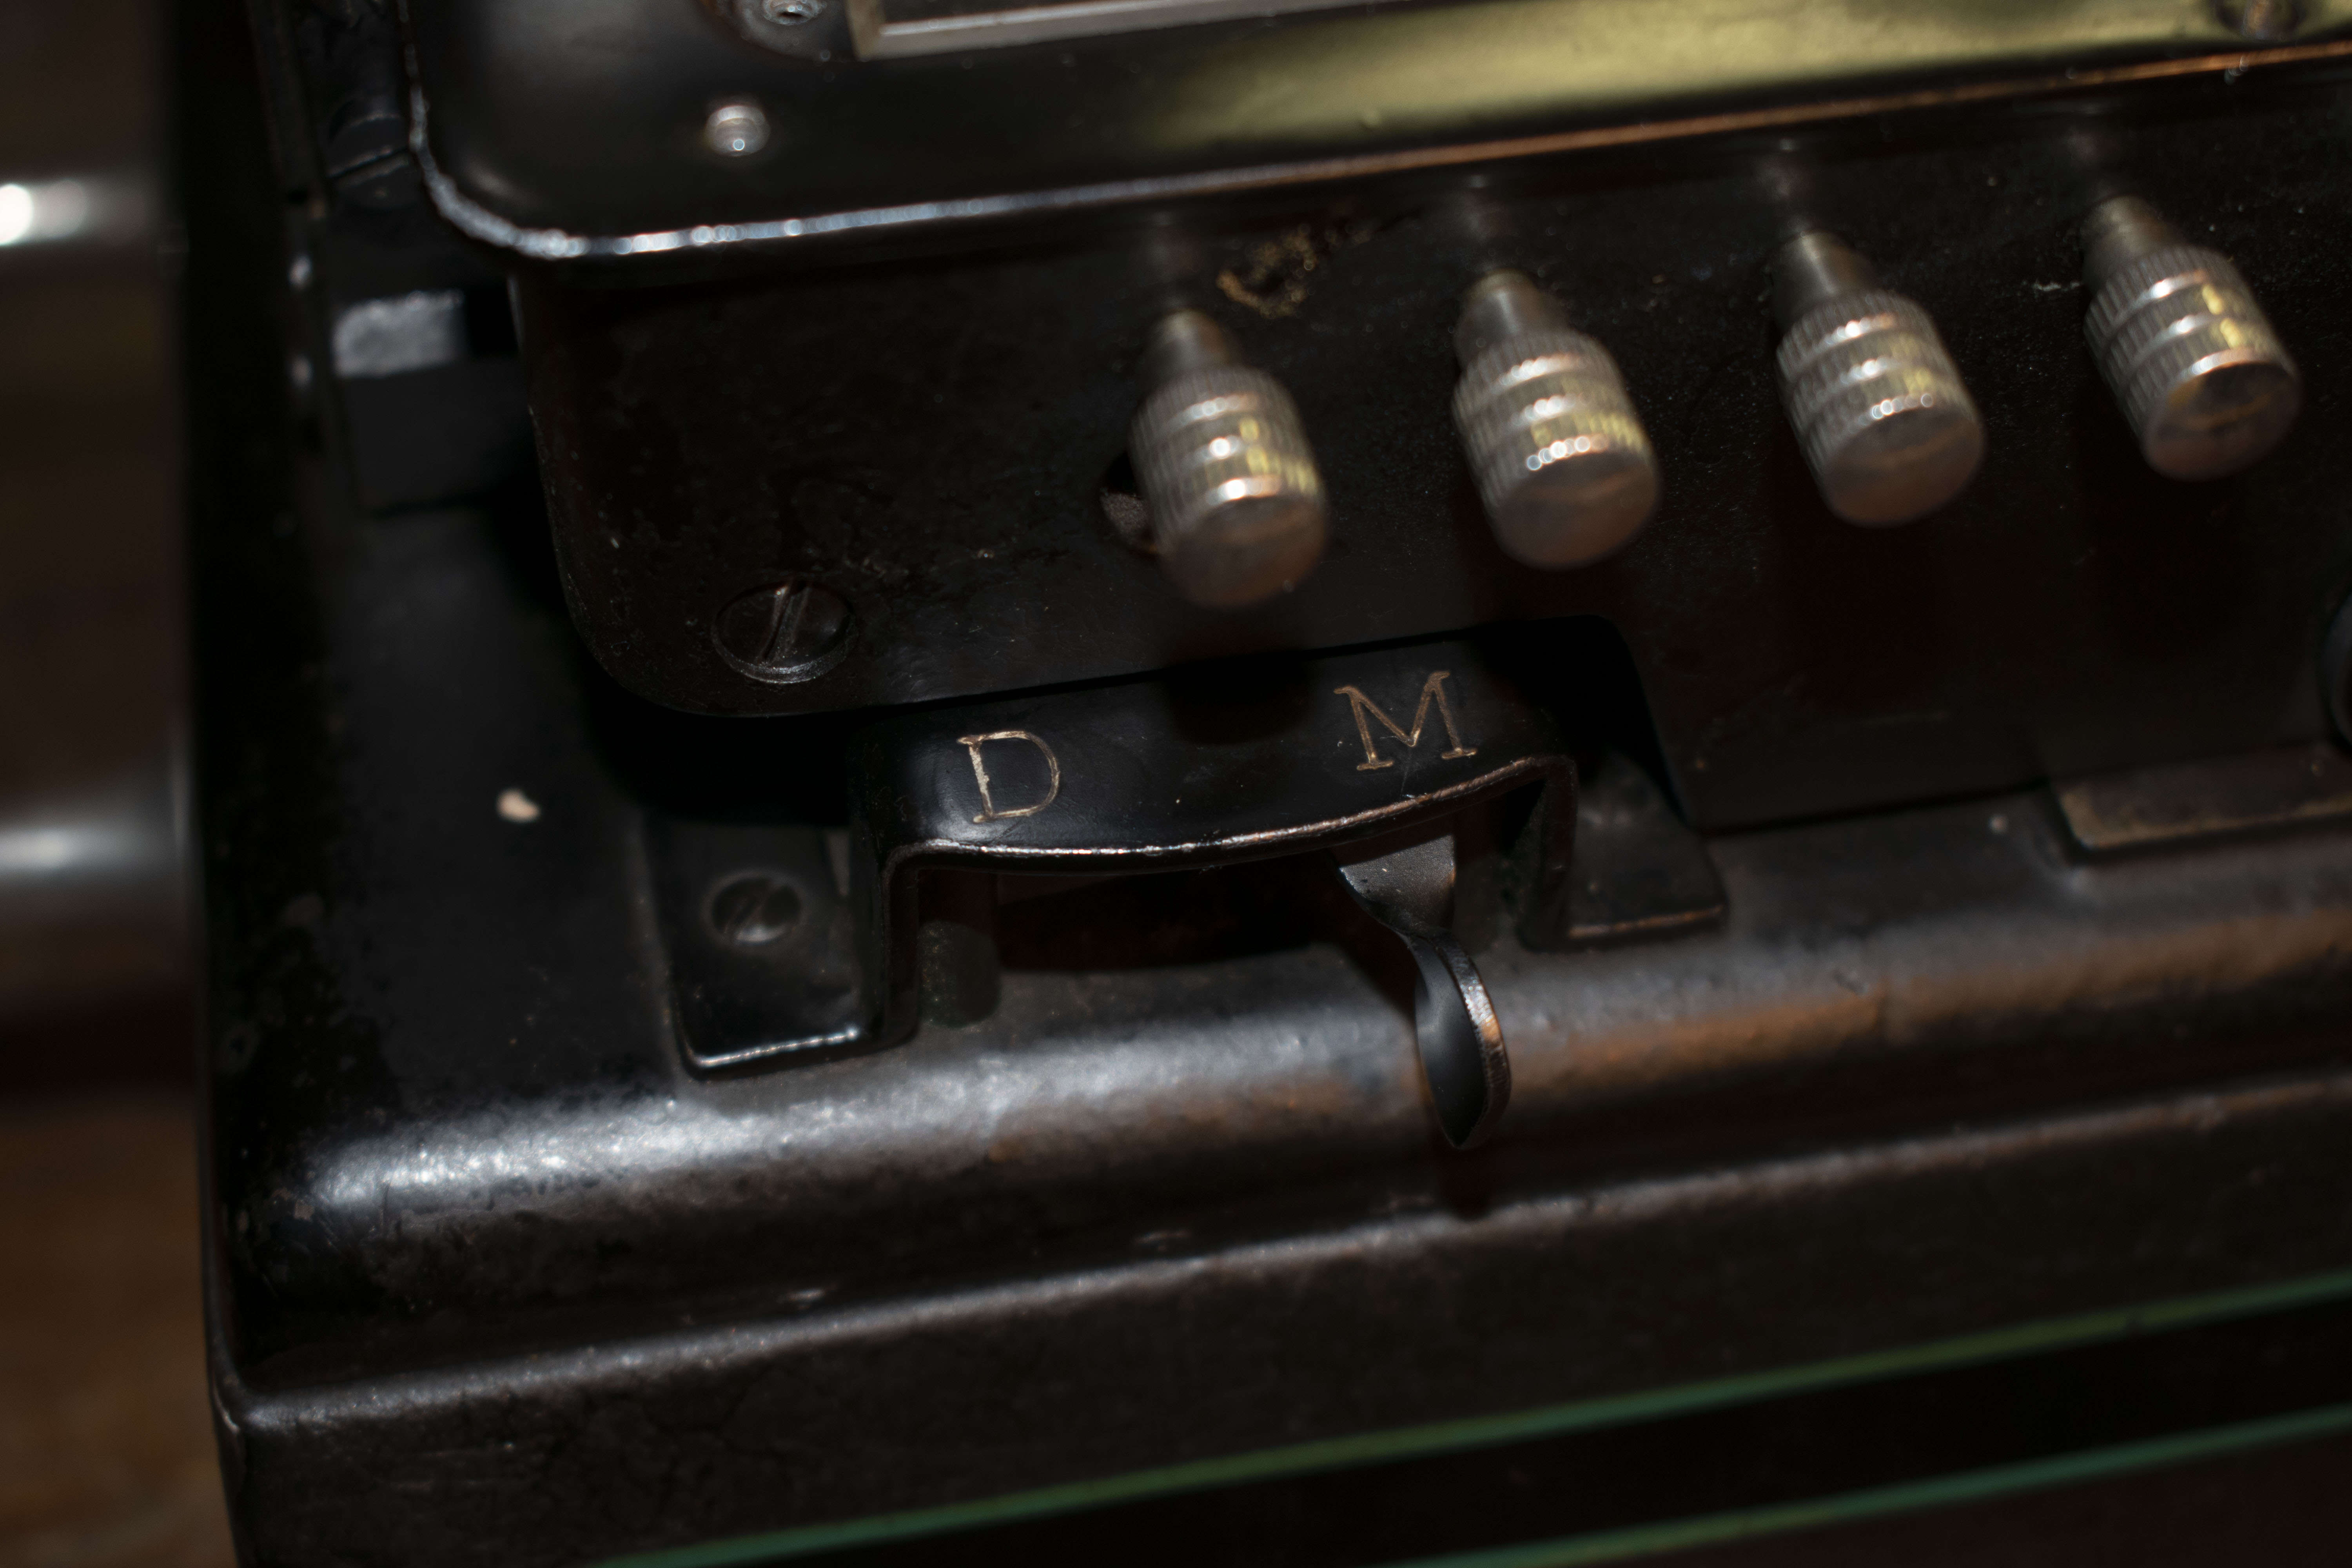
There is a lever below the carriage also used to set multiplication and division.
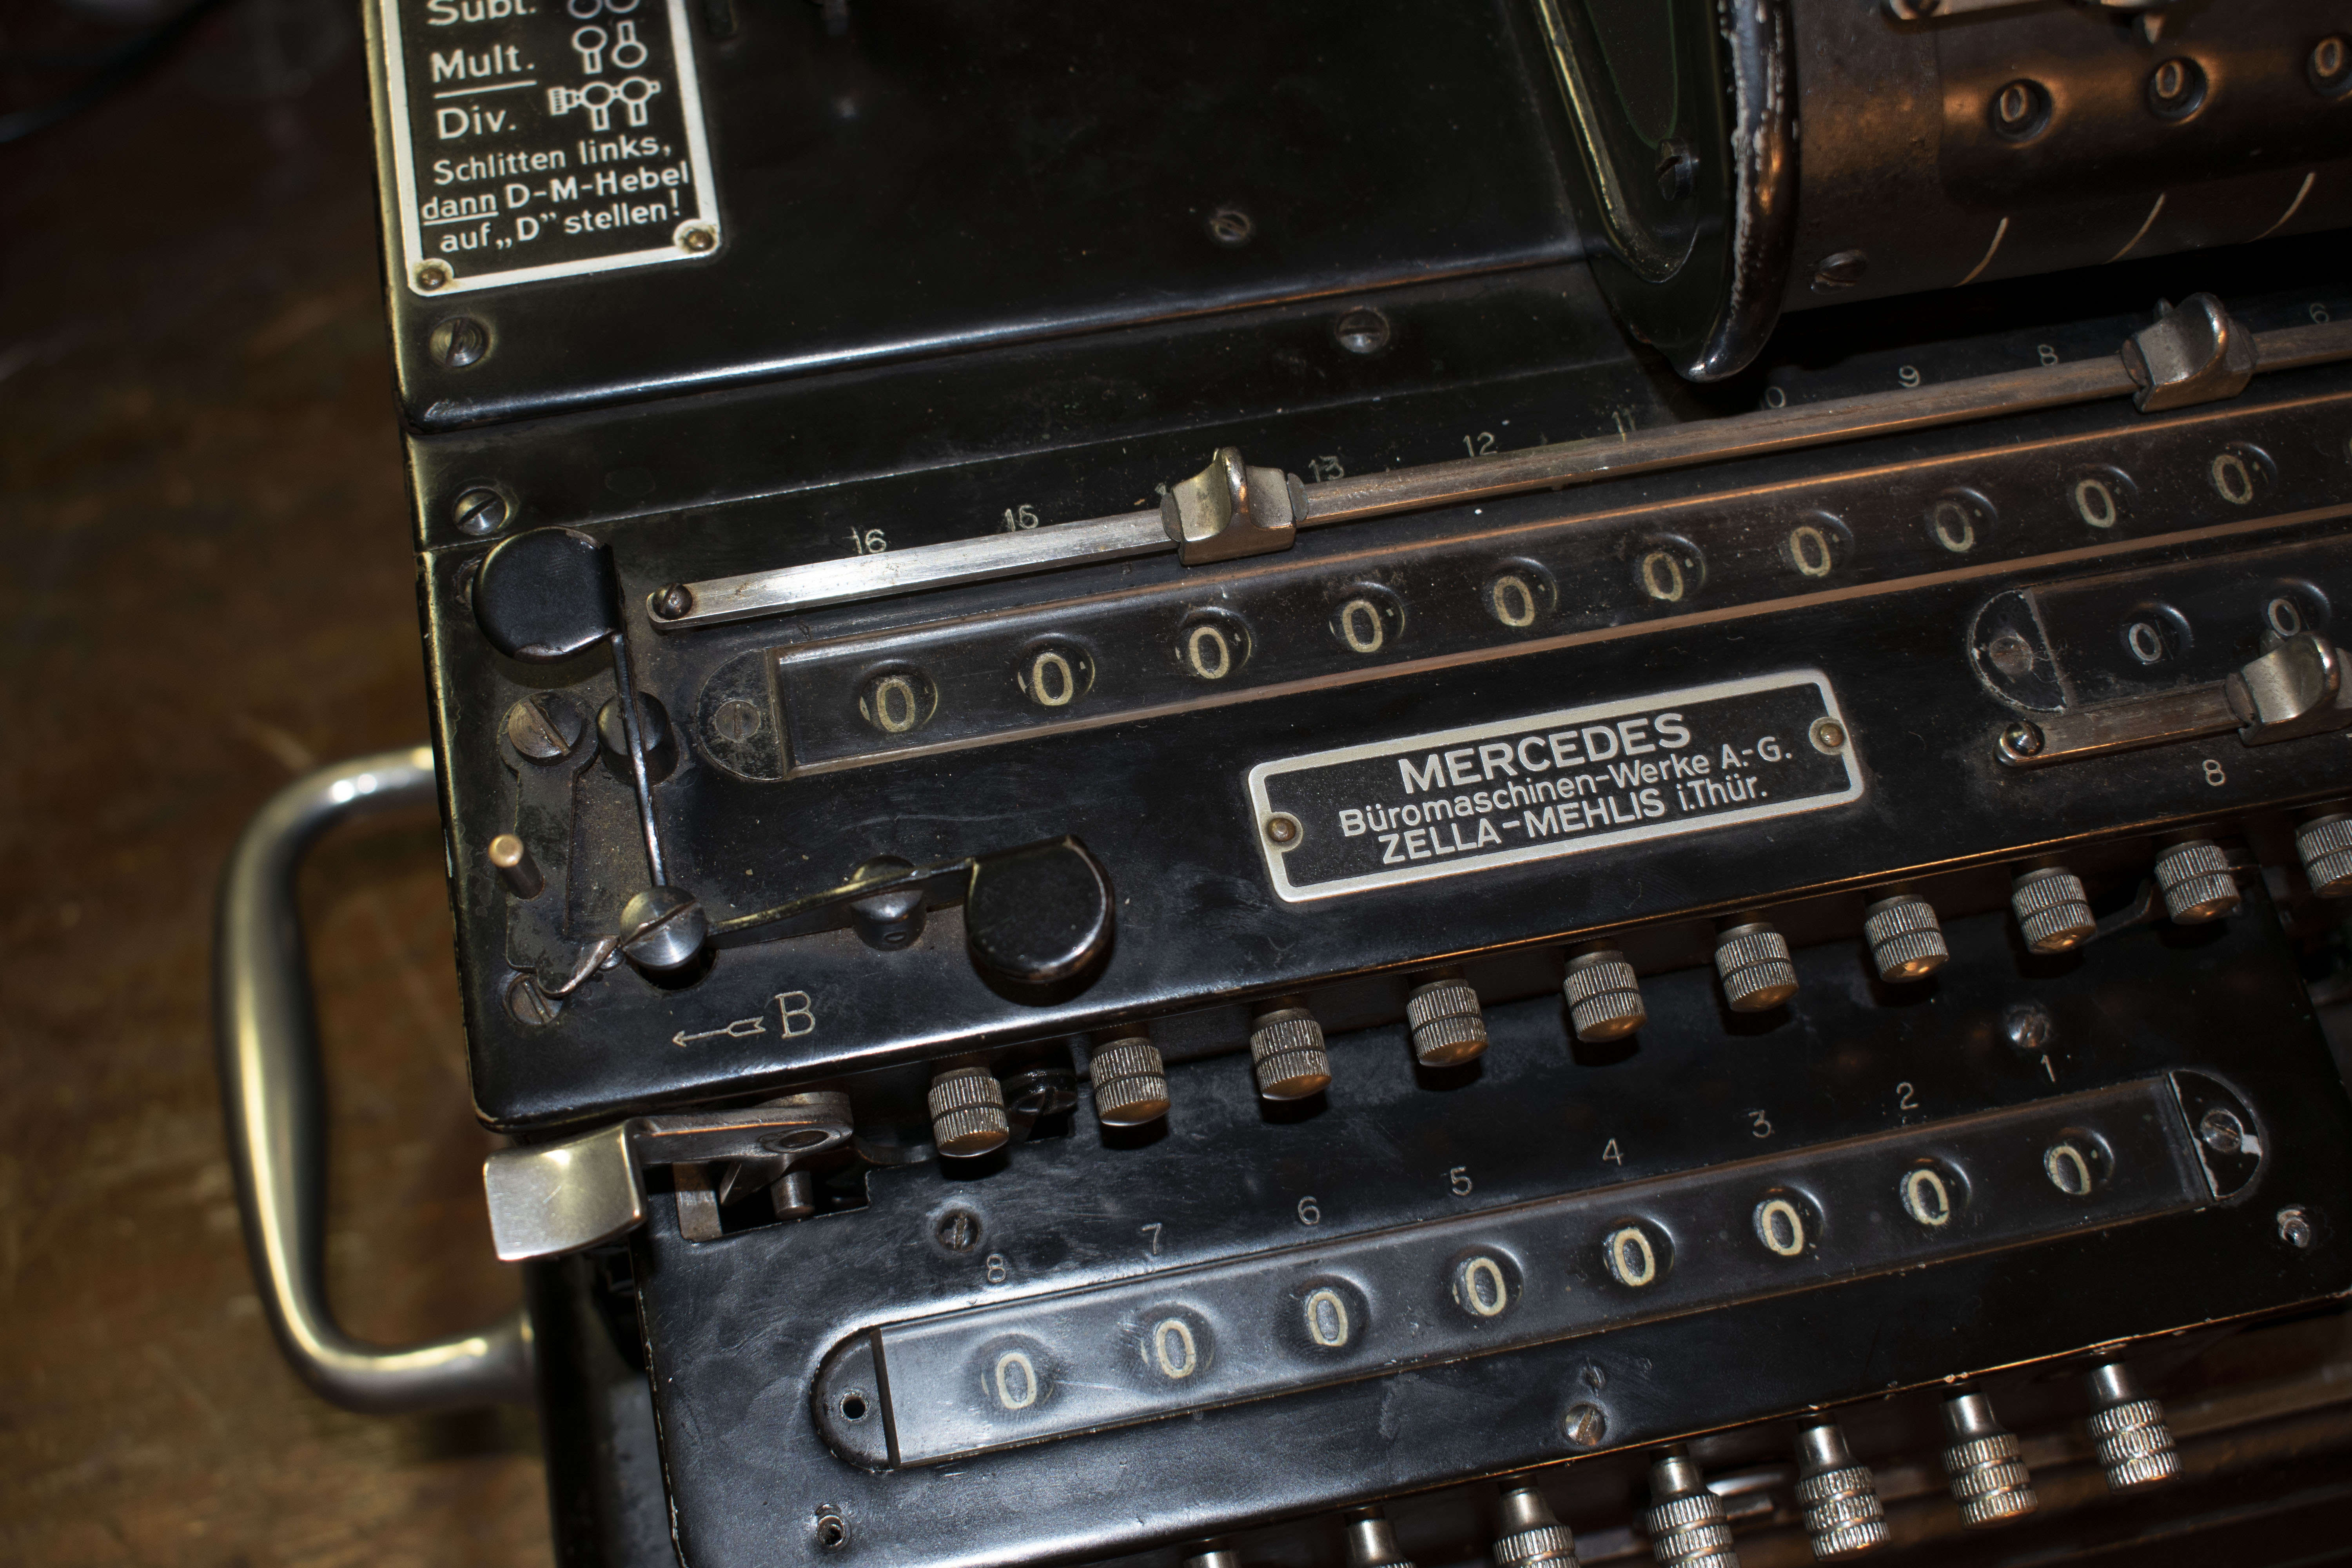
On the left hand side of the carriage, on the top, there are two buttons, a center pin, and a locking lever. On the side of the carriage below that is a silver button. All of these controls work together. When in addition and subtraction, the locking lever is disengaged, allowing the center pin to move freely. This allows for the two top buttons to work. The upper button releases the carriage to where it slides into it’s leftmost home position. The bottom button steps the carriage one place to the left at a time.
In multiplication and division, the uppermost button is used to raise the pin and the locking lever is slid to the right. This lets the carriage move freely if nothing is in the multiply register. The silver button is used to move the carriage freely if a number is in the multiply register. It also releases the pin that locks the carriage in addition and subtraction, this allows the silver button to be used to stop a division or multiplication operation.
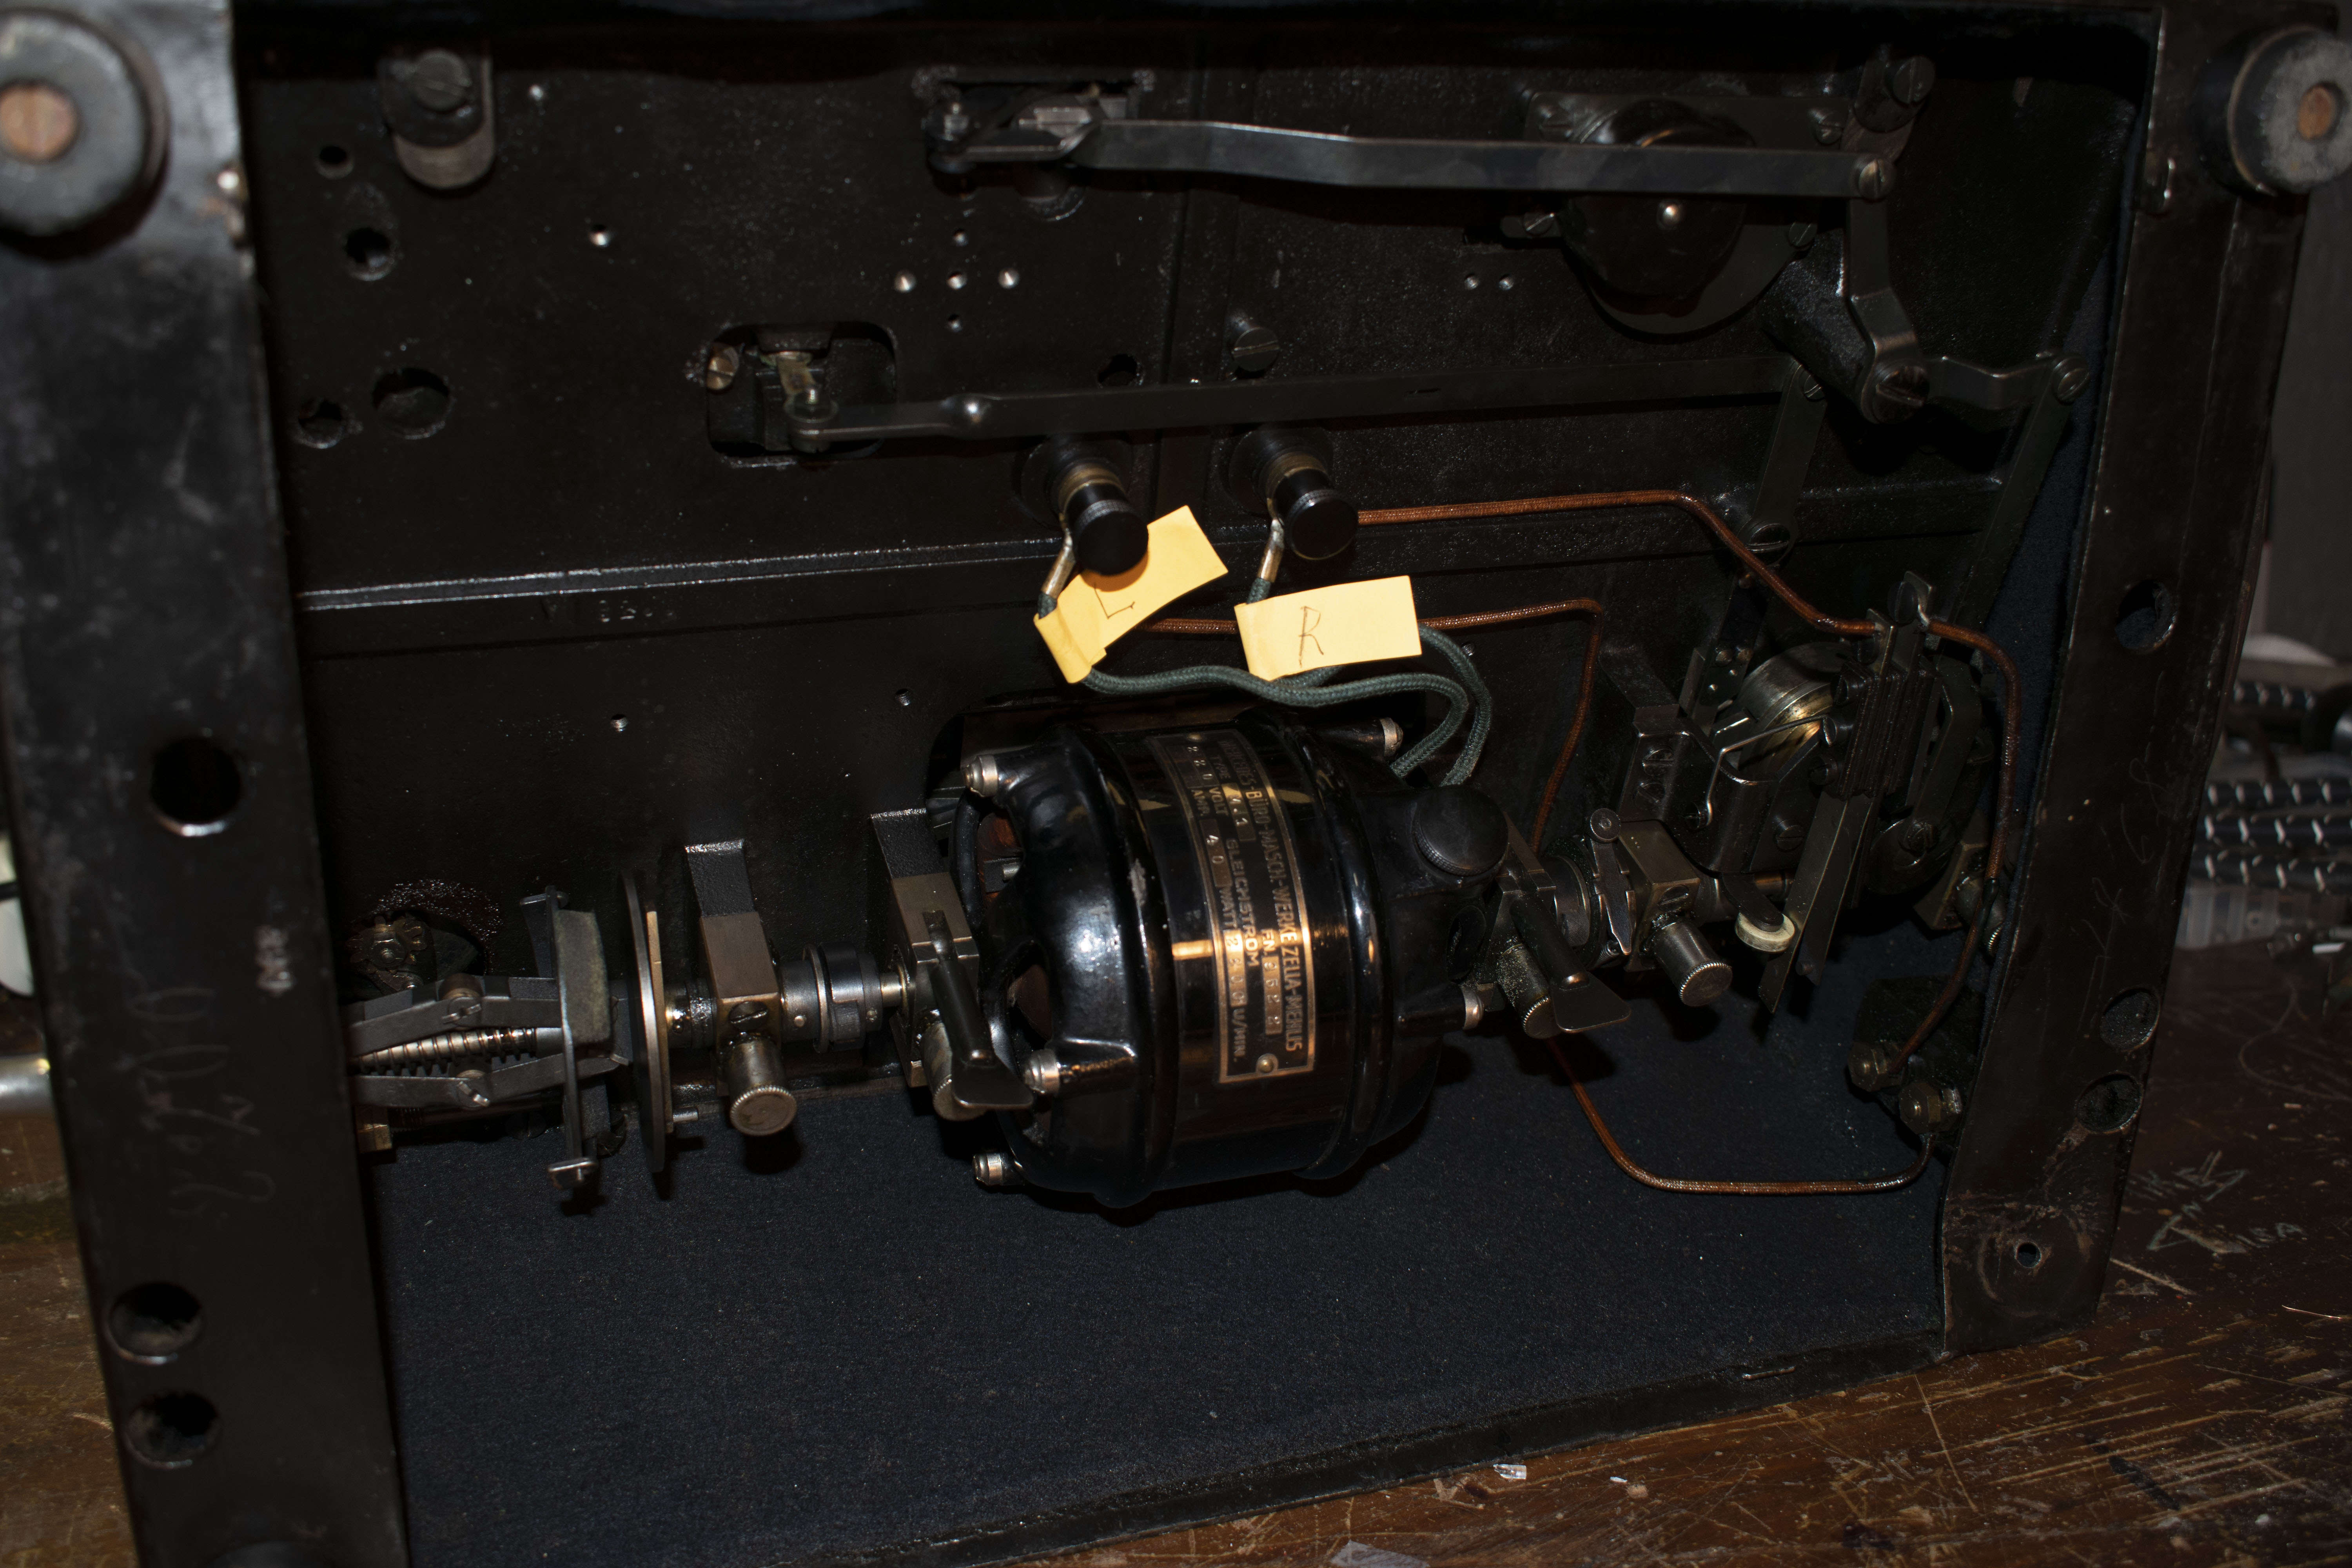
And finally, on the back left side of the machine, there is a knob that adjusts the governor, allowing for speed control of the motor.
Operation
Addition
For addition, the two control levers on the left side machine need to be set to the Add or Mult mode. This means the left switch is in the upmost position and the right switch is in the lower position. The lever on the bottom of the machine should be in the M position for multiplication. The carriage lock should be enabled. Ensure the locking lever is slid to the left and the pin is in the lower position. Now the carriage can be moved to what ever position is needed and it will lock in place. The addend should be entered on the keyboard. Pressing the button to the right of the keyboard will activate the machine. The sum will be shown in the upper register on the carriage.
Subtraction
For subtraction, the two control levers on the left side machine need to be set to the Sub mode. This means the left and right switches are in the bottommost position. The lever on the bottom of the machine should be in the M position. The carriage lock should be enabled again. The minuend should be in the top register on the carriage and the subtrahend should be entered on the keyboard. Pressing the button to the right of the keyboard will activate the machine. The difference will be shown in the upper register on the carriage.
Multiplication
For multiplication, the carriage settings need to allow it to move freely. The button to release the carriage to it’s home position needs to be pressed and the locking lever slid to the right. The control levers need to be set in the same position as addition and the bottom lever set to M. Then, in the lower multiply register, enter the multiplier in the lower multiply register using the dials. Next, enter the multiplicand in the keyboard. Ensure that the lever to automatically clear the keyboard is not set. Finally, pull the carriage to the right and release it. The product will be shown in the upper register.
Division
For division, the carriage setting again needs to allow it to move freely. Both control levers on the top of the machine need to be in upper most position and the pin should be slid through both levers so that they move together. The bottom switch should be set to D for division. The dividend should be entered on the leftmost part of the main register using the setting dials and the divisor should be entered on the leftmost side of the keyboard. Ensure the keyboard clearing switch is not enabled. Finally, pull the carriage all the way to the right and release it. The quotient will be in the counter register.
Motor
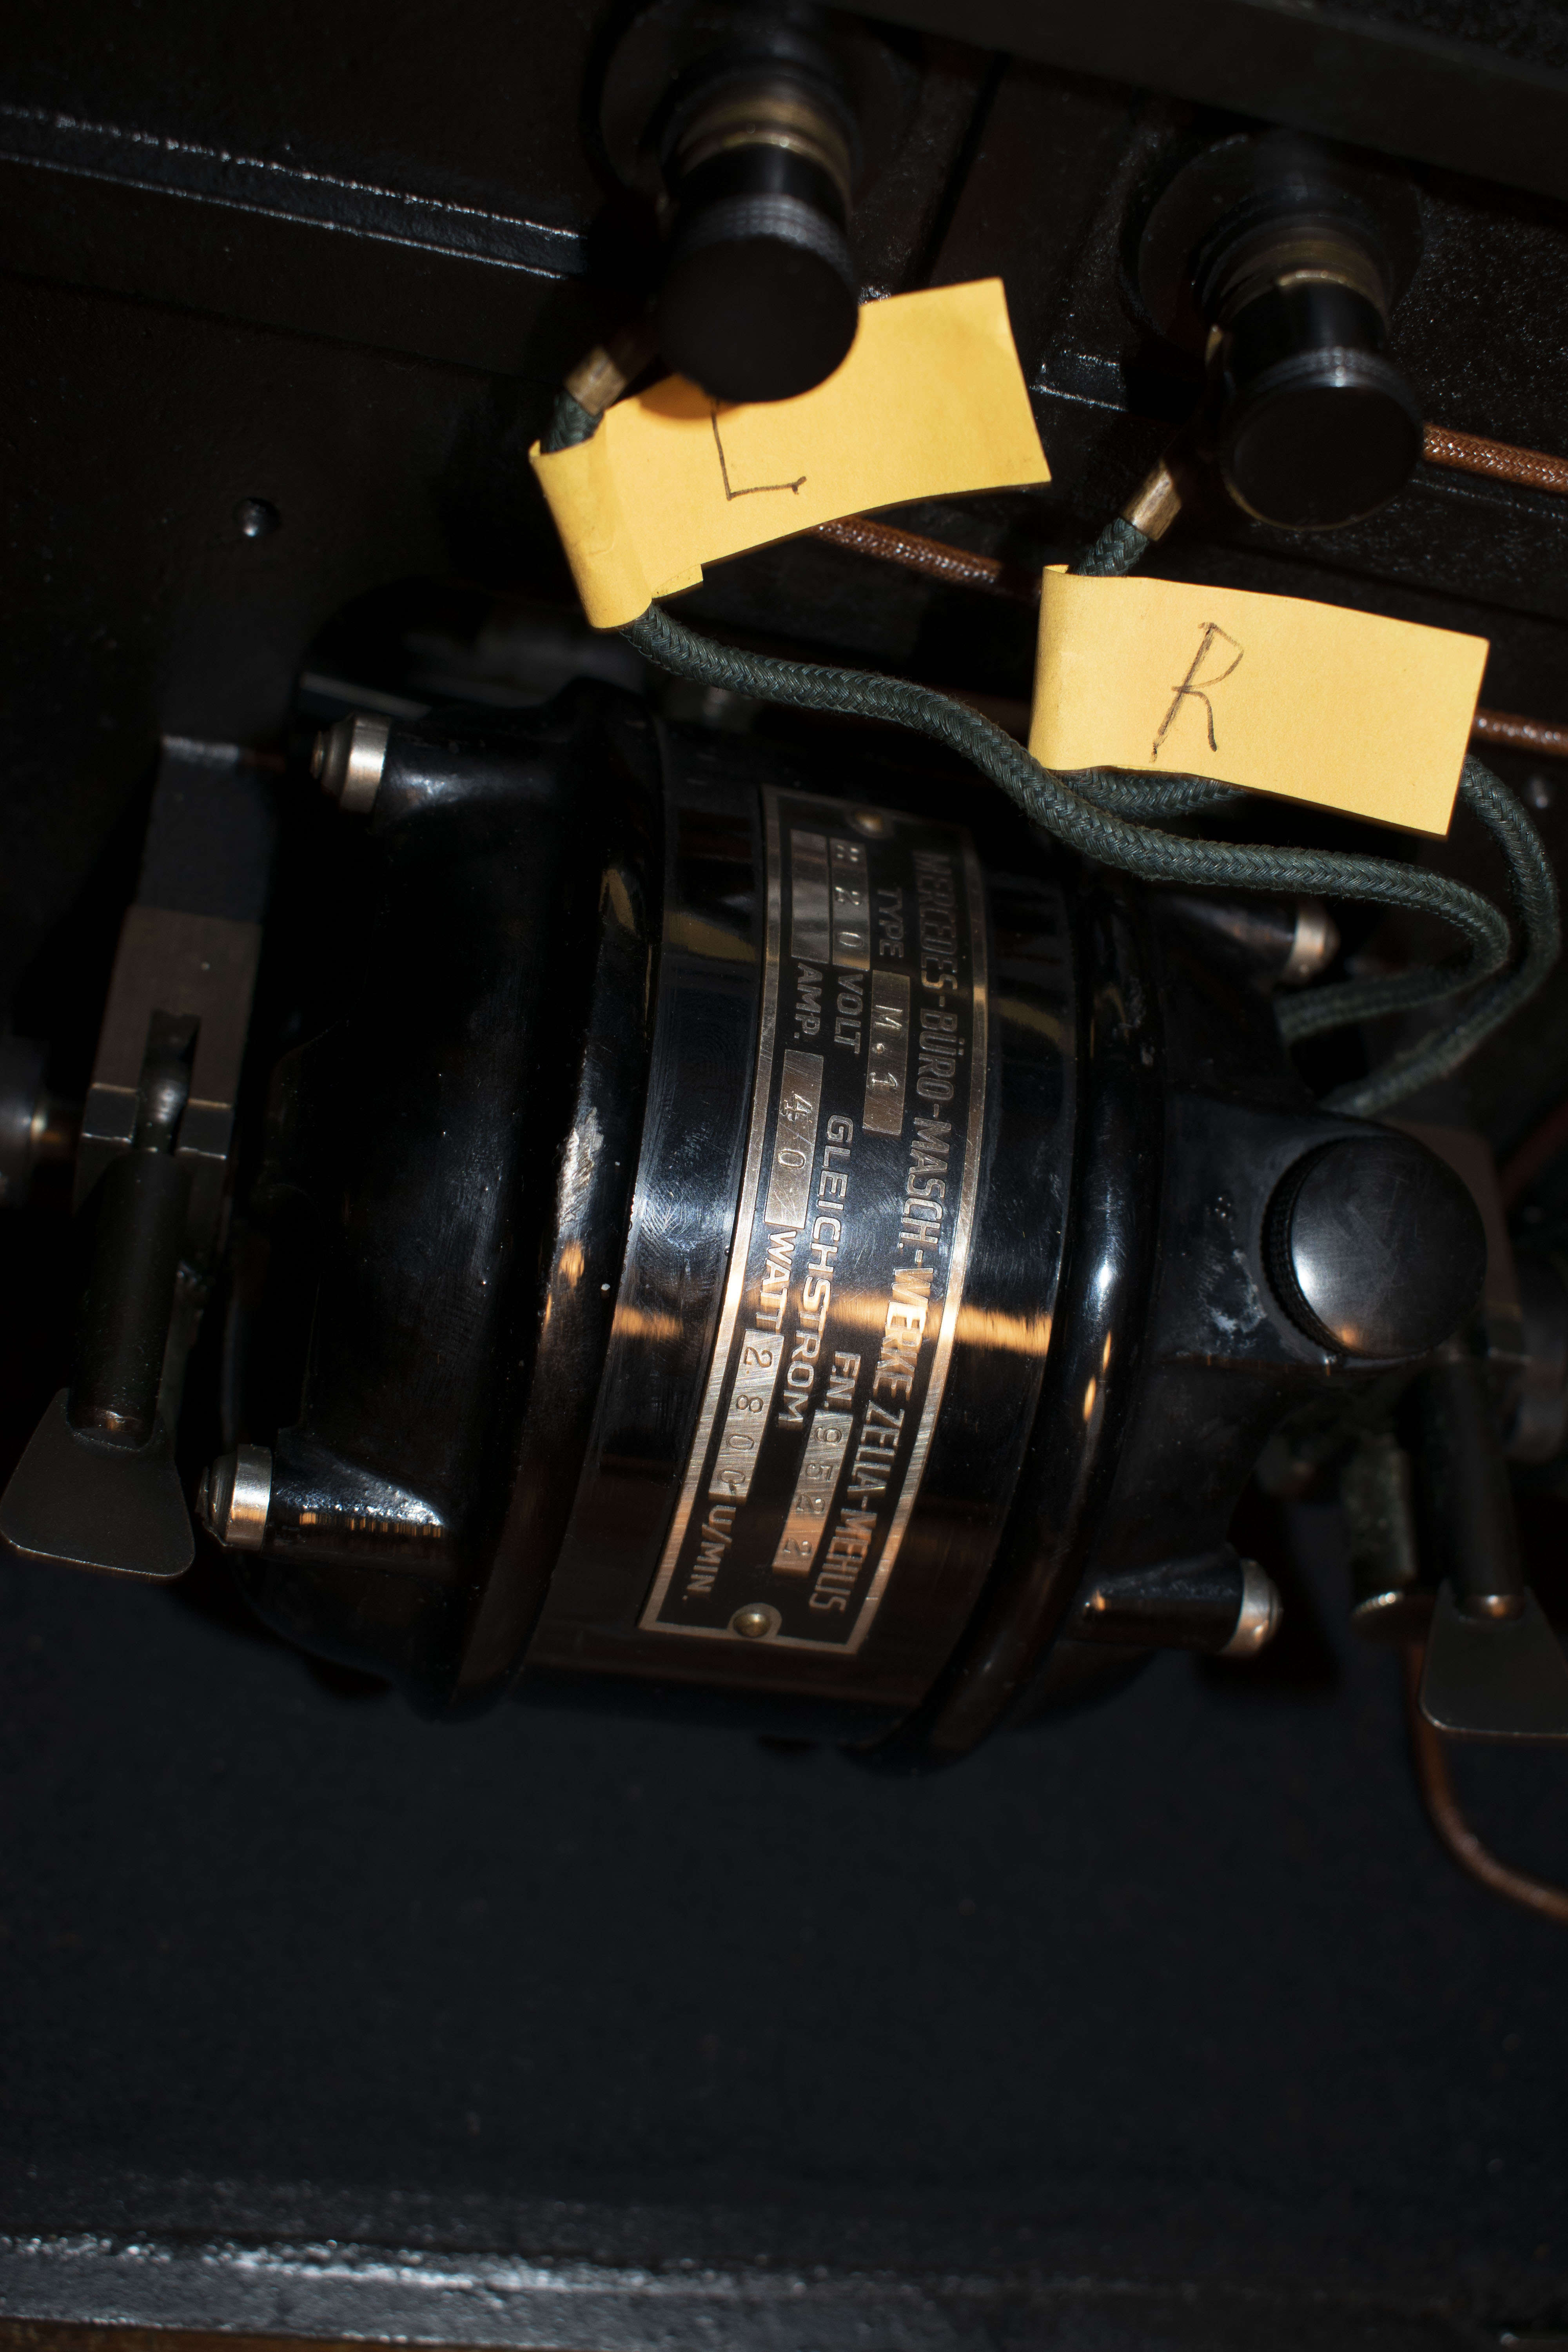
The motor is a 220 Volt - 40 Watt DC motor. In order to run this machine on the U.S electrical grid, I used a 220 volt step up transformer and a 1000 watt rectifier from Amazon.
Governor
This machine also uses a mechanical governor to control the speed of the motor! It’s a simple resistive design that is controllable from a knob on the outside of the machine.
More Images